A while back, I published an article on some of the best meat thermometers for BBQ and smoking. At the time, the Chef iQ Gen 3 wasn’t included on that list because I hadn’t used one myself. I try not to recommend equipment based solely on manufacturer claims or online reviews. If I’m going to put something on Smoke Tested BBQ, I want to put it through a real cook first.
Recently, I decided to make the jump from a traditional wired thermometer to a completely wireless system and purchased the Chef iQ Gen 3. After using it during a beer can chicken cook on my Oklahoma Joe Longhorn offset smoker—better known around here as The Beast—I came away impressed enough to share my first impressions.
This isn’t a long-term review after dozens of cooks. Instead, it’s an honest look at my first experience with the Chef iQ Gen 3, what I liked, what I didn’t, and whether I’d buy it again.
Why I Switched From a Wired Thermometer to the Chef iQ Gen 3
For years, I relied on wired meat thermometers when smoking BBQ. They worked well enough, but dealing with probe wires was never my favorite part of a cook. Every time I fired up the smoker, I found myself untangling cables, routing wires around hot surfaces, and trying to keep everything organized.
The wires weren’t a deal breaker, but they were one more thing to manage while tending a fire and cooking meat.
When it came time to upgrade, I decided I wanted a completely wireless system. My goal wasn’t necessarily to get more features—it was to simplify the process. I wanted something that would let me monitor temperatures without worrying about cables running out of the smoker.
After researching a few options, I decided to give the Chef iQ Gen 3 a try.
If you’re interested in checking current pricing or specifications, you can find the Chef iQ Gen 3 Wireless Meat Thermometer on Amazon here.
First Impressions
I’ve only used the Chef iQ Gen 3 on one cook so far, but my first impression was very positive.
Like most new gadgets, there was a small learning curve at the beginning. My biggest challenge wasn’t the thermometer itself—it was figuring out how everything connected to my phone and where to position the charging base for the best signal.
Once I got past that initial setup, everything became straightforward. The app was easy enough to navigate, the probes paired without much trouble, and the overall system felt intuitive after a few minutes of use.
What stood out immediately was how much cleaner the setup felt compared to the wired thermometers I had used in the past. Without cables running out of the smoker, the entire process seemed simpler and less cluttered.
By the time I was ready to start my beer can chicken cook, I felt comfortable with the system and eager to see how it would perform during a real-world smoke.
Using the Chef iQ Gen 3 on an Offset Smoker
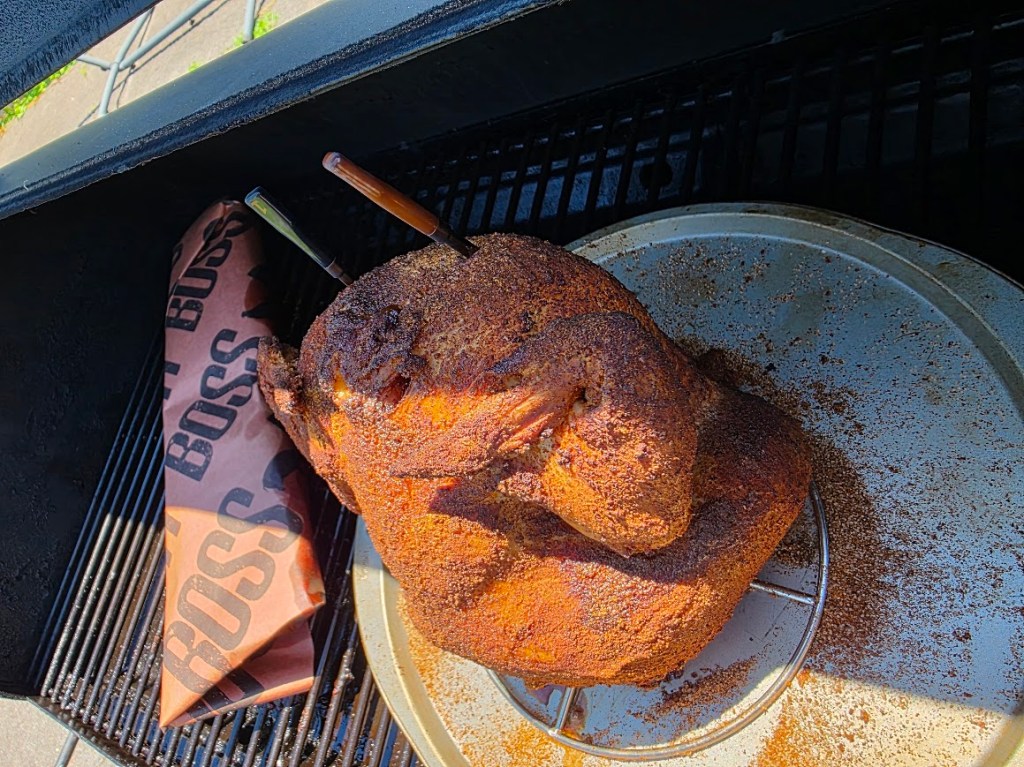
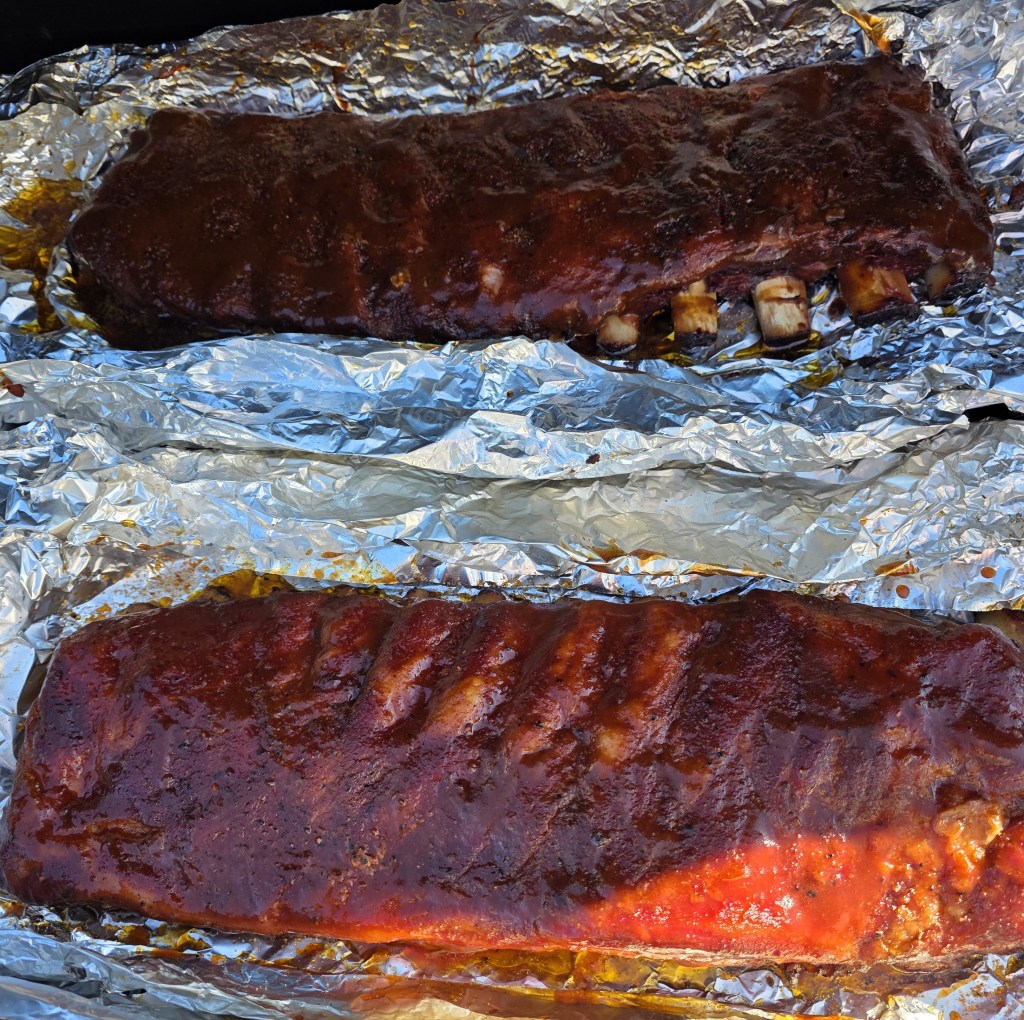
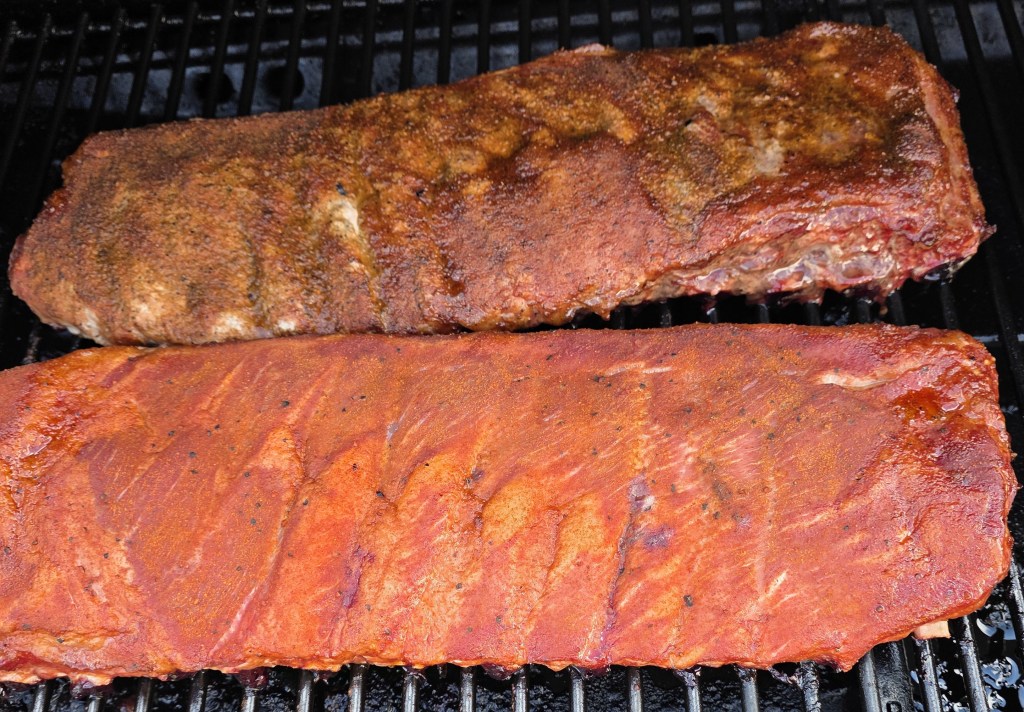
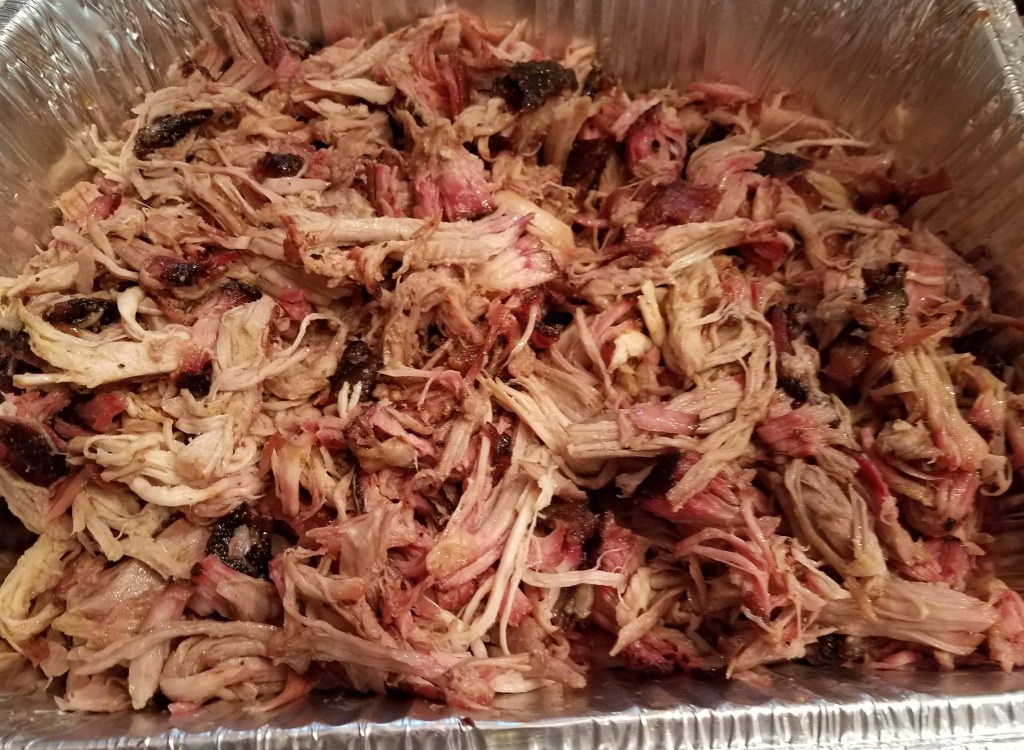
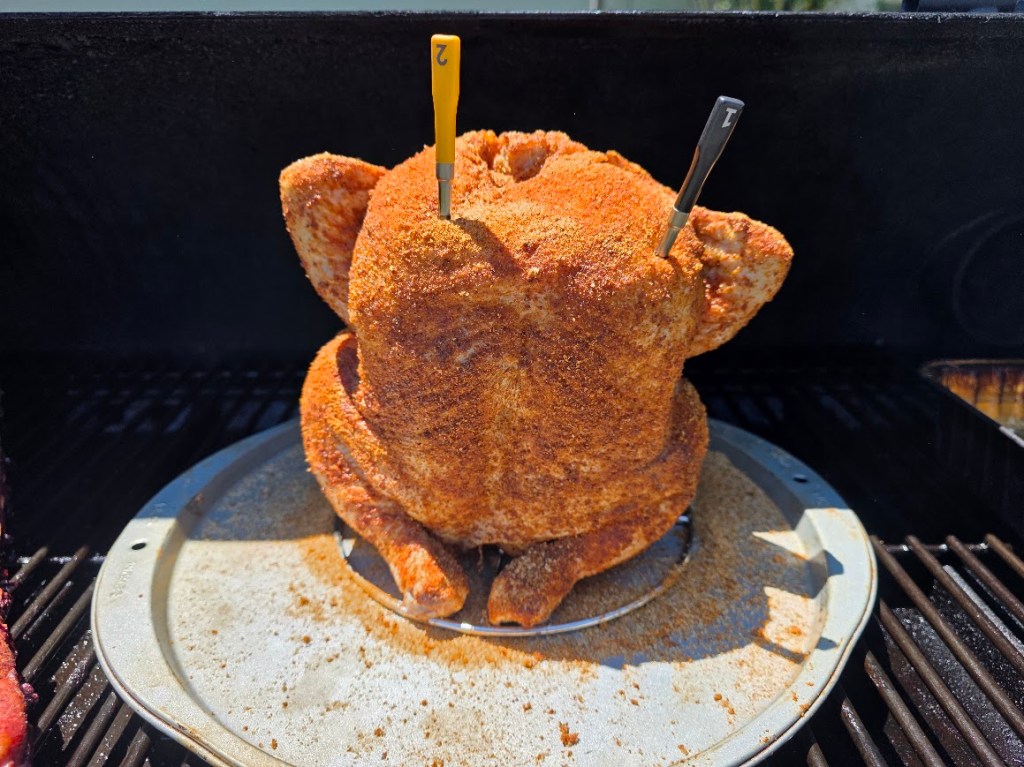
For my first cook with the Chef iQ Gen 3, I decided to put it to work during a beer can chicken cook on my Oklahoma Joe Longhorn offset smoker, better known around here as The Beast.
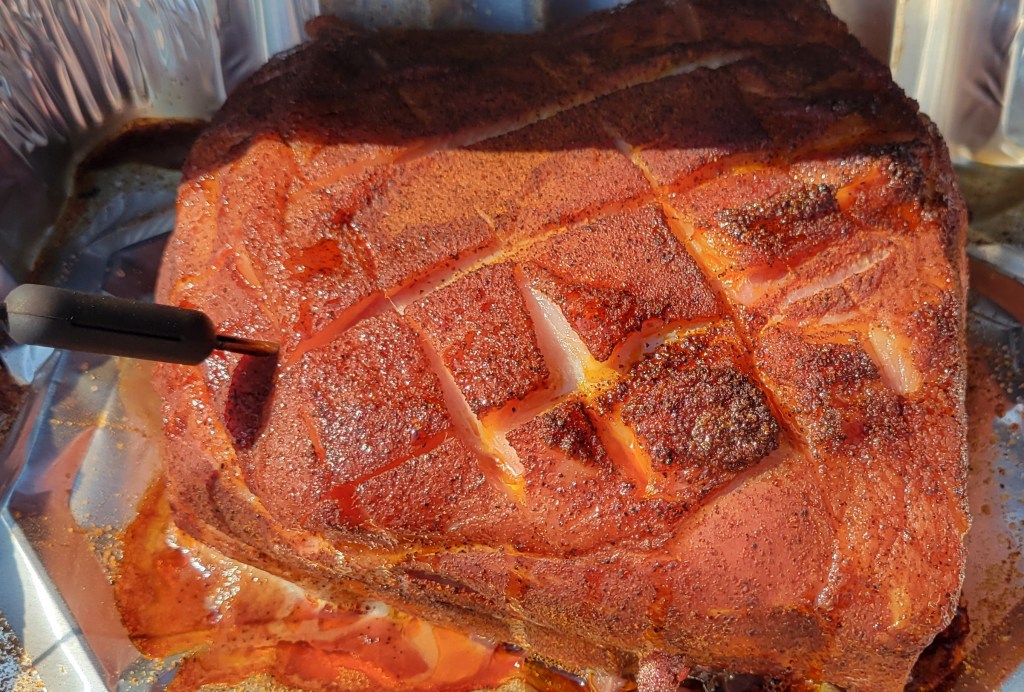
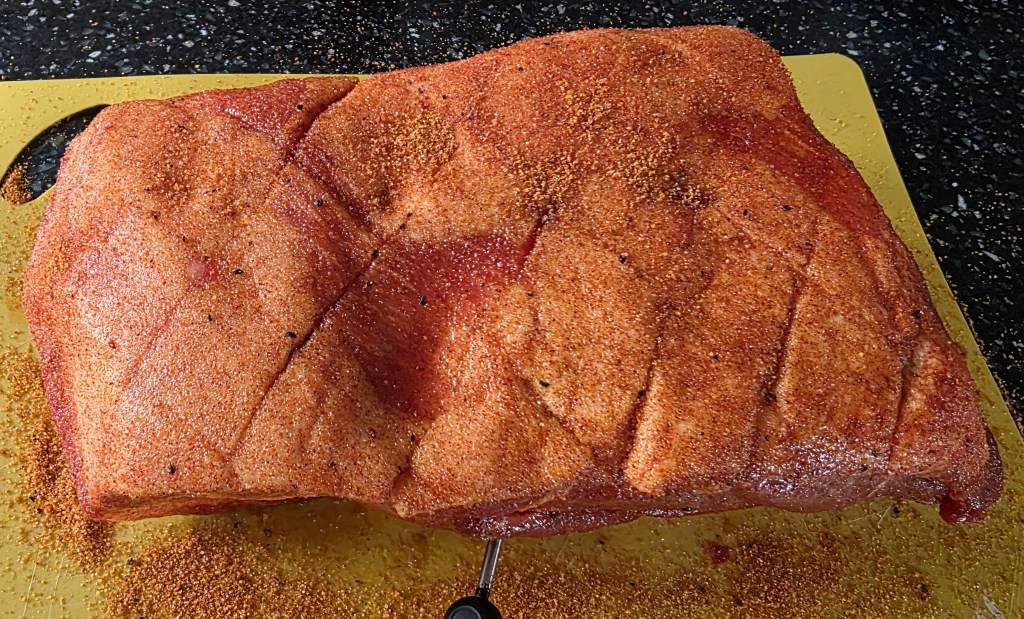
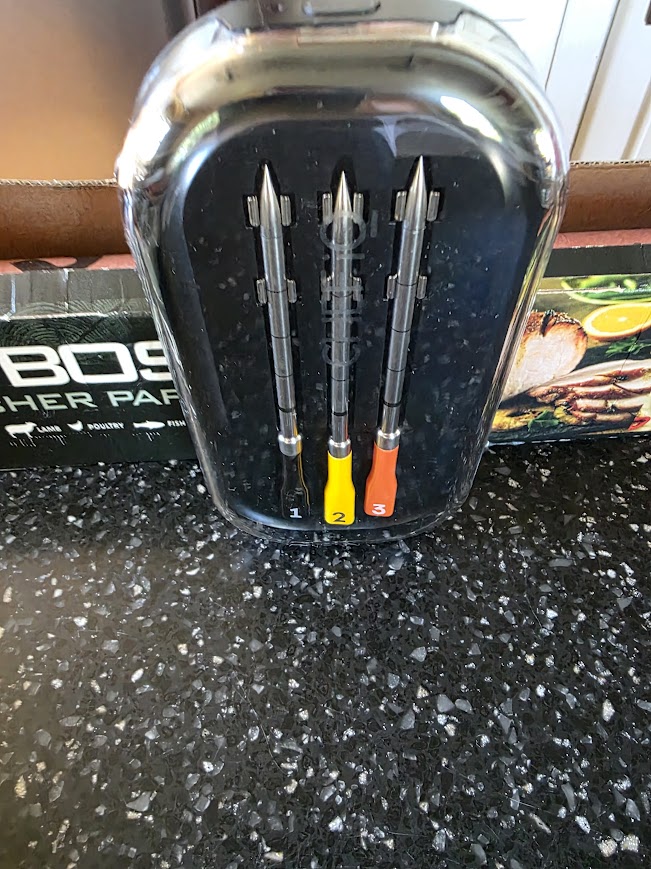
The thermometer package I purchased included three wireless probes, although I only needed two for this particular cook. Setup was simple. Once the probes were inserted into the chicken and connected through the app, I was able to monitor temperatures without running a single wire out of the smoker.
That may not sound like a major advantage until you’ve spent years cooking with traditional wired thermometers. There were no cables hanging from the smoker, no wires to route around hot surfaces, and nothing to untangle before or after the cook.
Instead, I inserted the probes, closed the lid, and focused on managing the fire while keeping an eye on temperatures from my phone.
For this cook, I used the same charcoal setup I discussed in my article on Best Charcoal for Offset Smokers, which helped maintain steady cooking temperatures throughout the smoke.
The wireless setup immediately felt like a cleaner and more convenient way to monitor a cook.
Performance During the Cook
The real test of any thermometer isn’t the setup—it’s how it performs once the smoker is running.
During my beer can chicken cook, the Chef iQ Gen 3 maintained a solid connection from start to finish. I never experienced a disconnect, never had to reconnect the probes, and never found myself troubleshooting the app while trying to manage the cook.
Temperature accuracy also appeared to be very good. Rather than simply trusting the readings on the screen, I checked the temperatures using a separate instant-read digital thermometer.
The readings matched what I expected to see, giving me confidence that the probes were accurately tracking the cook.
One of the biggest benefits of a quality thermometer is being able to monitor temperature changes without constantly opening the smoker. If you’re struggling with fluctuating temperatures, check out my guide on Why Your Smoker Temperature Keeps Swinging and How to Fix It.
While it’s still too early for me to make long-term claims about durability or reliability after only one cook, my first experience left me impressed with both the connection stability and temperature accuracy.

What I Liked About the Chef iQ Gen 3
After my first cook with the Chef iQ Gen 3, the biggest advantage was simple: no wires.
I’ve used wired thermometers for years, and while they get the job done, dealing with probe wires is never the fun part of a cook. With the Chef iQ, the entire process felt cleaner and more convenient from start to finish.
Inserting the probes into the meat was easier. Removing them when the cook was finished was easier. Cleanup afterward was easier. Without cables attached to each probe, there was simply less to manage.
I also appreciated not having to route wires out of the smoker or worry about them getting in the way while tending the fire. Once the probes were in place, I could close the lid and focus on the cook.
The app was another pleasant surprise. After the initial setup and learning curve, it was straightforward to use and made monitoring temperatures simple.
Most importantly, the wireless design delivered exactly what I was hoping for when I bought it: convenience. Instead of feeling like I was managing equipment, I felt like I was simply cooking barbecue.
Things to Know Before Buying
No piece of BBQ equipment is perfect, and there are a few things potential buyers should know before purchasing the Chef iQ Gen 3.
The first is the price. At $129.95 for the three-probe package, the Chef iQ costs considerably more than many traditional wired thermometers. If your current thermometer is working well and you don’t mind dealing with wires, the price may be difficult to justify at first.
I also found that the placement of the charging base matters. During my first cook, I spent a little time figuring out the best location for maintaining a strong connection between the probes and my phone. Once I found the right spot, I didn’t experience any connection issues, but there was a brief learning curve.
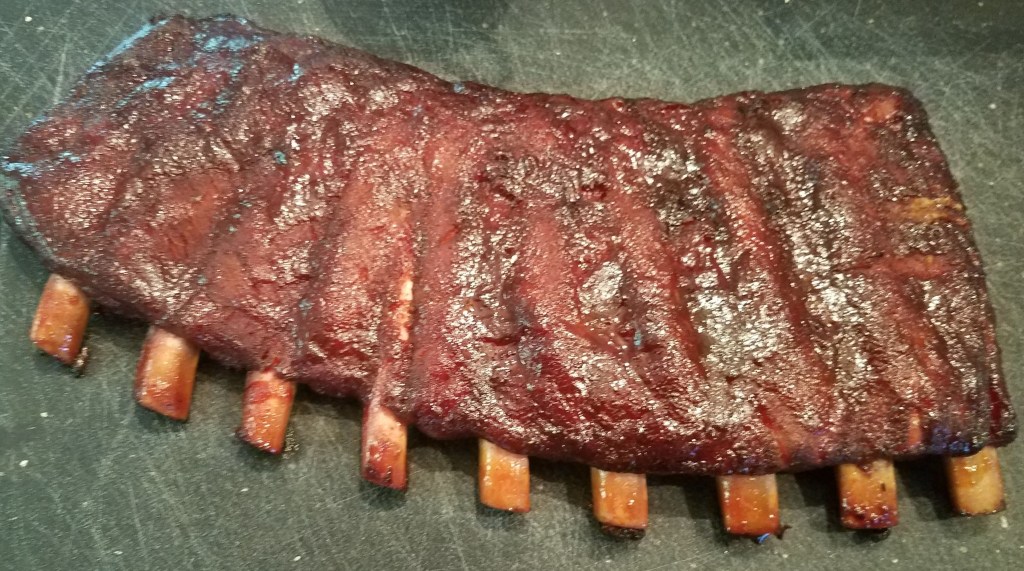
The only other thing I’d like to see is more probes. The three-probe package is plenty for many cooks, and I only used two probes during my beer can chicken cook. However, when smoking multiple pork butts, several racks of ribs, or a combination of meats, I can see situations where additional probes would be useful.
None of these issues were deal breakers for me, but they’re worth considering before making the investment.
Final Verdict
After my first cook with the Chef iQ Gen 3, I can honestly say I’d buy it again.
The wireless design delivered exactly what I was hoping for when I decided to move away from wired thermometers. From inserting the probes to monitoring temperatures and cleaning up afterward, the entire process felt simpler and more convenient.
The thermometer maintained a strong connection throughout my cook, the app was easy to use once I completed the initial setup, and the temperature readings matched what I saw with my instant-read digital thermometer.
While the price is higher than many wired alternatives, the convenience was immediately noticeable and made the upgrade worthwhile for me.
I think the Chef iQ Gen 3 is a solid option for both beginners and experienced pitmasters. Beginners will appreciate the straightforward operation and easy-to-use app, while experienced BBQ cooks will enjoy the freedom that comes with a truly wireless system.
One final note: this review is based on my first cook with the Chef iQ Gen 3. As I continue using it on future cooks, I’ll update this article with additional observations and long-term impressions.
For now, though, the Chef iQ Gen 3 has earned a permanent place in my BBQ toolbox.
If you’re interested in learning more about the Chef iQ Gen 3 or checking current pricing, you can find it on Amazon here: Chef IQ Gen 3