Beer can chicken has been around for years, and if you’ve spent any time around backyard BBQ enthusiasts, you’ve probably heard strong opinions about it. Some people swear the beer steams the chicken from the inside and keeps it moist. Others insist it’s nothing more than a gimmick.
I’ve made beer can chicken before, and one thing I remembered was how juicy and flavorful it turned out. With a free Saturday, a 4.5-pound chicken, and a fresh bag of Jealous Devil briquettes, I decided it was time to try it again on The Beast.
This cook also gave me a chance to put my new Bluetooth thermometer through its paces. Between testing new gear, trying a different beer, and seeing whether beer can chicken still lived up to my memory, it seemed like the perfect excuse to fire up the smoker.
For this cook, I used a Black Abbey Dunkel Dark Lager, Central BBQ Rub from Memphis, hickory wood chunks, and my Oklahoma Joe offset smoker. The goal was simple: cook a juicy chicken, see how the beer can method performed, and answer the question that keeps coming up whenever beer can chicken is mentioned:
Does it actually work?
The Setup
For this cook, I kept things simple.
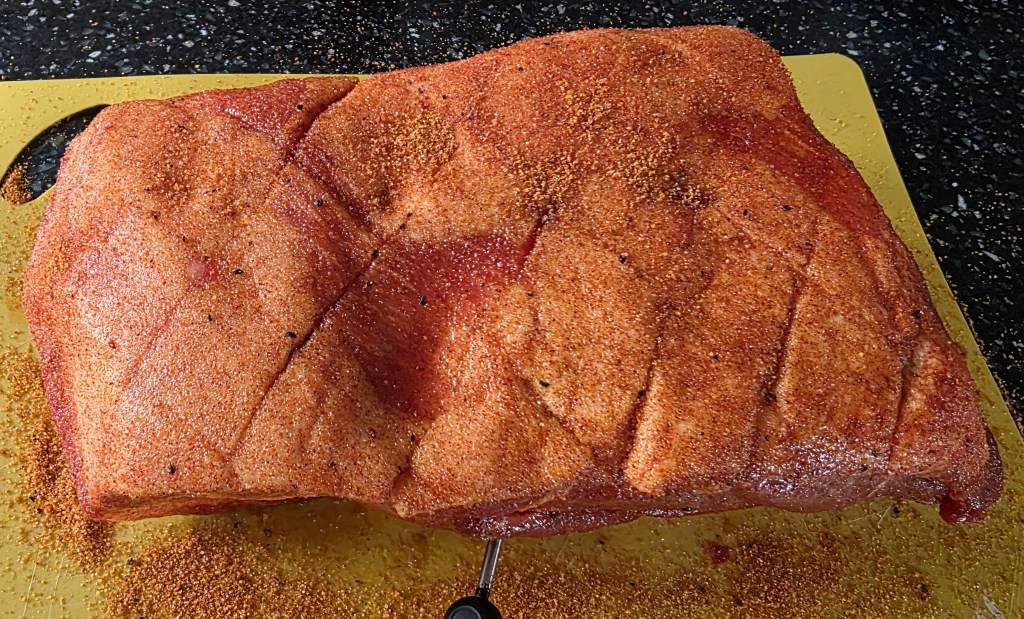
I started with a 4.5-pound whole chicken and seasoned it generously with Central BBQ Rub from the famous Memphis barbecue restaurant. The rub provides a nice balance of sweet, savory, and smoky flavors that work well with poultry.
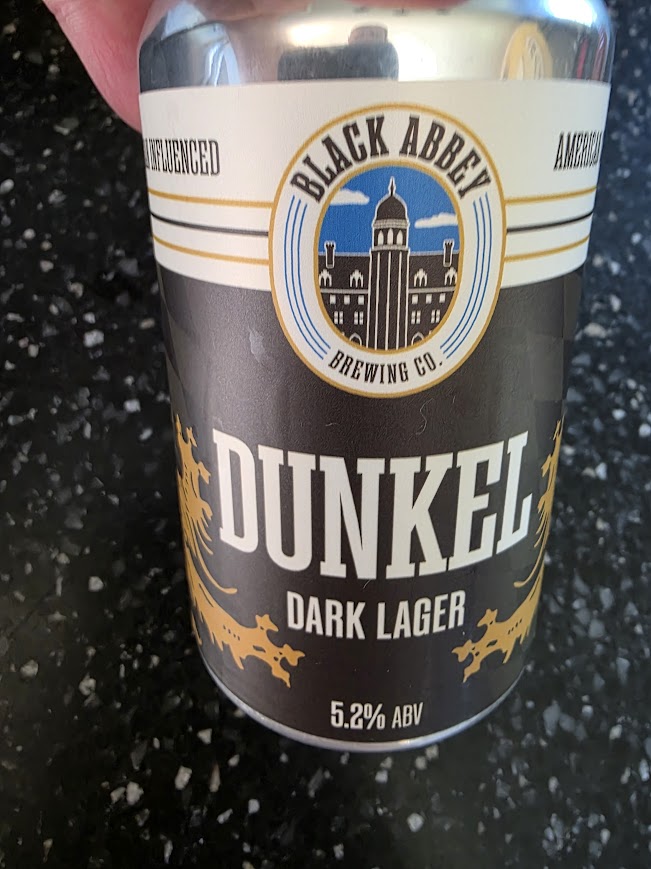
For the beer, I chose a Black Abbey Dunkel Dark Lager. Some beer can chicken recipes call for lighter beers, but I wanted something with a little more character. Whether that would actually make a difference in the finished product was part of the experiment.
To fuel The Beast, I used Jealous Devil briquettes along with hickory wood chunks for smoke flavor. I’ve had good luck with Jealous Devil on longer cooks because it burns consistently and produces less ash than many other briquettes I’ve tried.
My target cooking temperature was 300–315°F. When smoking chicken, I generally prefer running a little hotter than traditional low-and-slow barbecue temperatures. Higher temperatures help render the skin and prevent the rubbery texture that can sometimes happen when poultry is cooked too low.
With the chicken seasoned, the beer can loaded, and The Beast running at temperature, it was time to see whether beer can chicken still deserved its reputation.
What You’ll Need
For this cook, I kept things simple:
- 1 whole chicken (about 4.5 pounds)
- 1 can of Black Abbey Dunkel Dark Lager
- Central BBQ Rub
- Jealous Devil Briquettes
- Hickory wood chunks
- Bluetooth meat thermometer
I opened the beer and poured out roughly half the can before placing the chicken on it. Some pitmasters leave the can alone, while others add additional ingredients. I sprinkled a little Central BBQ Rub into the beer before placing it in the chicken.
The bird was coated generously with Central BBQ Rub, making sure to get seasoning on all sides before heading out to the smoker.
At this point, everything was ready for The Beast.
Smoker Setup
I fired up a chimney starter filled with Jealous Devil briquettes and got The Beast running before adding the chicken. Once the coals were ready, I spread them in the firebox and added a few hickory wood chunks for smoke.
My target temperature for this cook was between 300°F and 315°F. Chicken tends to benefit from slightly higher temperatures than traditional low-and-slow BBQ, especially if you’re trying to avoid rubbery skin.
The Beast settled into that range without much trouble and stayed there for most of the cook. Once the smoker was running clean and producing thin blue smoke, it was time to put the chicken on.

The Cook
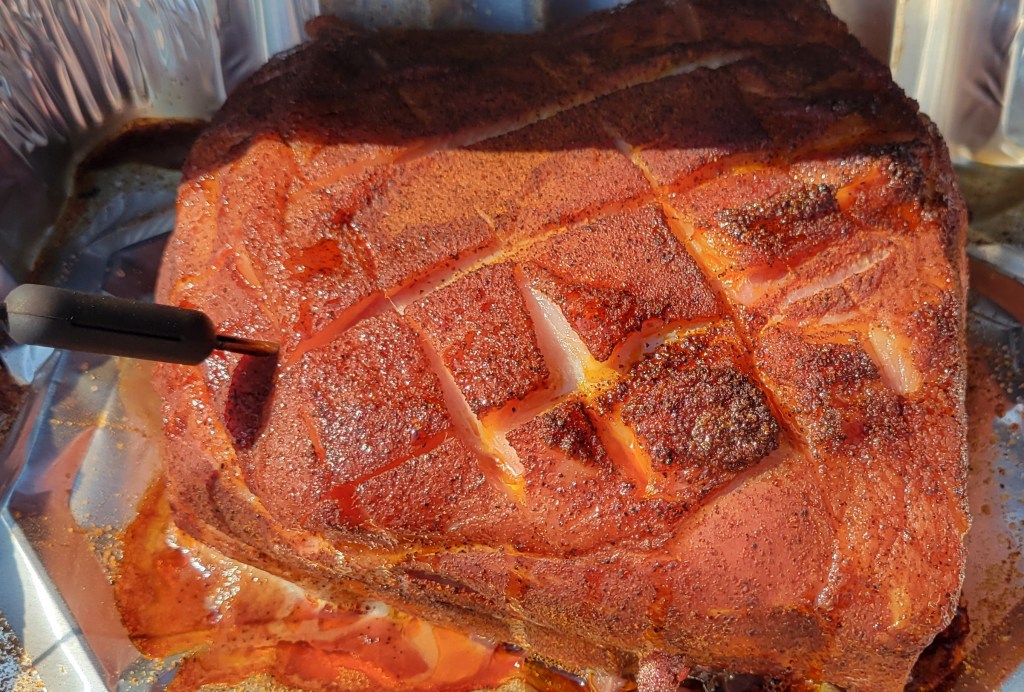
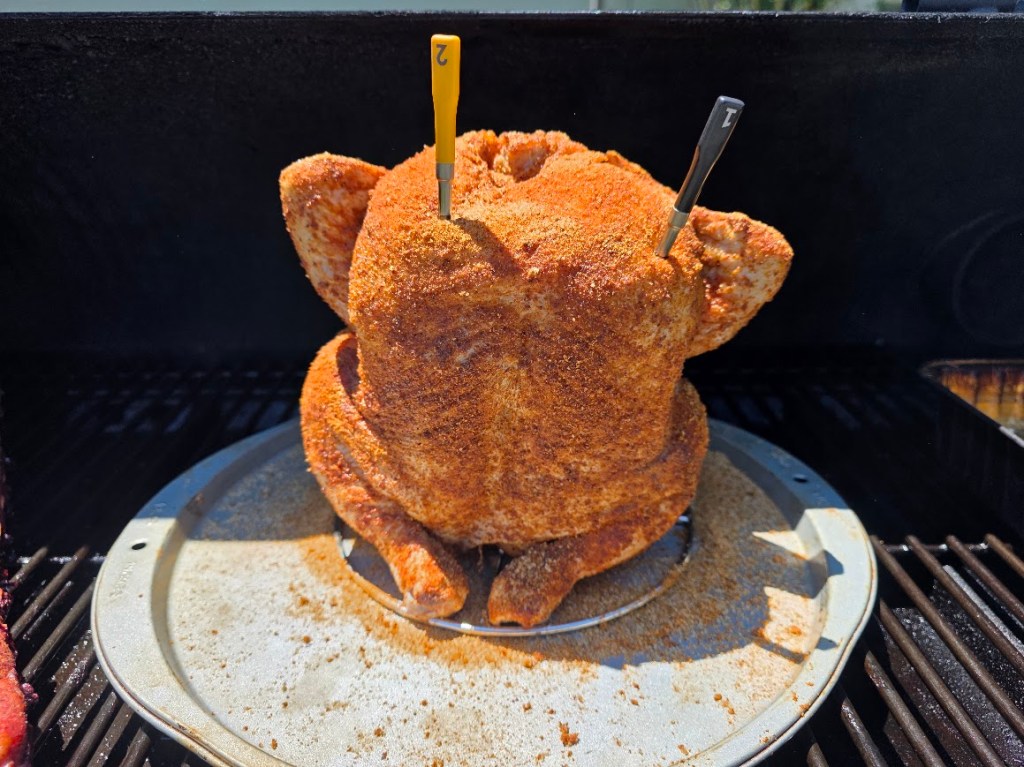
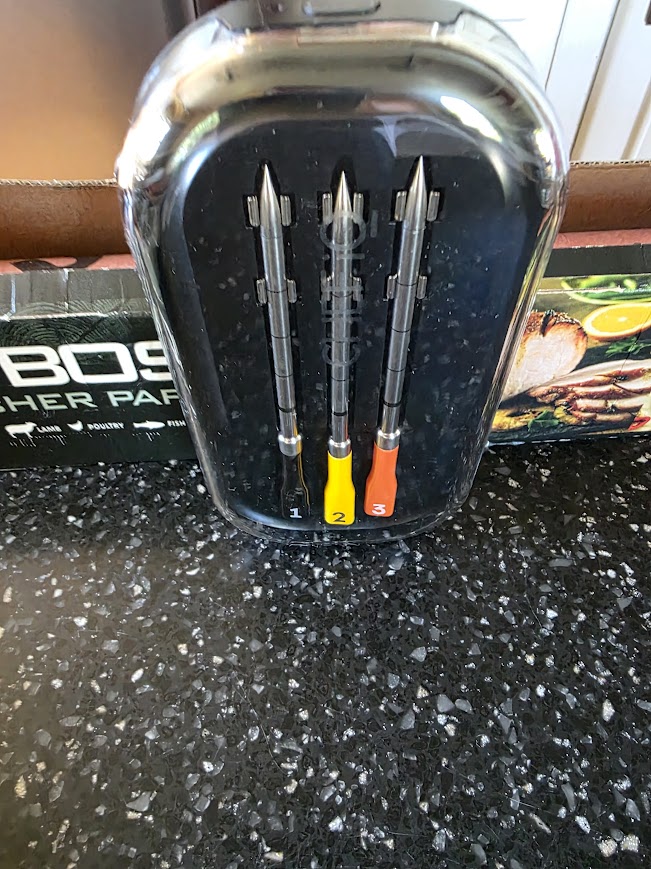
Once the smoker was stabilized, I inserted two probes from my Bluetooth thermometer into the chicken breast and placed the bird on The Beast.
One of the goals of this cook was to test the new thermometer, and it performed flawlessly throughout the day. I even checked the readings with a second thermometer at the end of the cook just to verify accuracy. The readings were right on target.
The chicken went onto the smoker around noon. During the cook, I added a few more Jealous Devil briquettes and a couple additional hickory chunks to maintain heat and smoke.
One thing that helped was the weather. There wasn’t much wind, which allowed The Beast to run steadily in the 300°F to 315°F range for most of the afternoon. Anyone who cooks on an offset smoker knows that windy days can make temperature management much more challenging, so it was nice to have a relatively calm day for this cook.
After about 2¼ to 2½ hours, the chicken reached my target temperature of 165°F in the breast meat and was ready to come off the smoker.
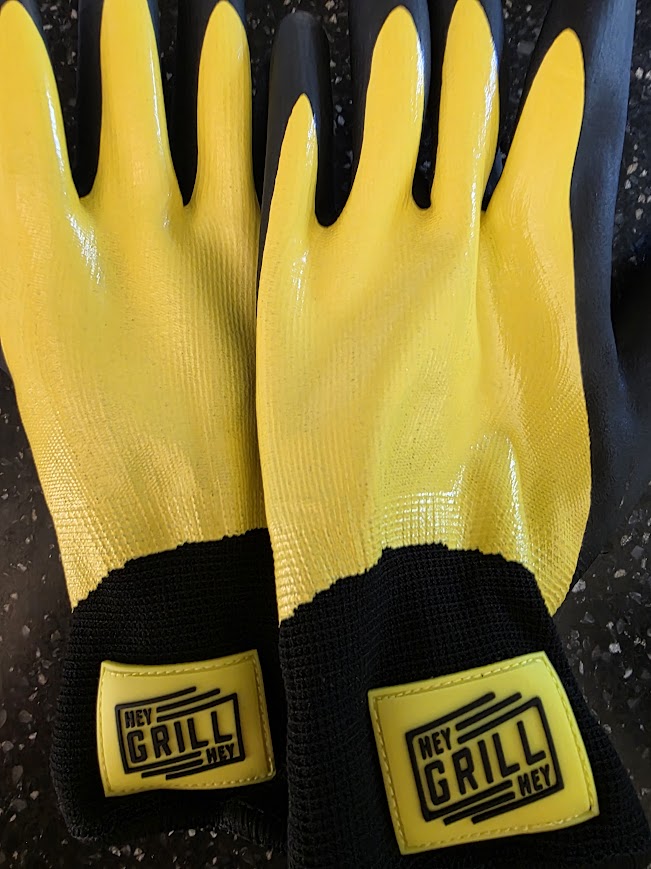
When it came time to remove the chicken from the smoker, I used a pair of heat-resistant grill gloves to safely lift the bird and beer can off the cooking grate. The pan, beer can, and chicken were all extremely hot at this point, so proper protection is a must.

The Results
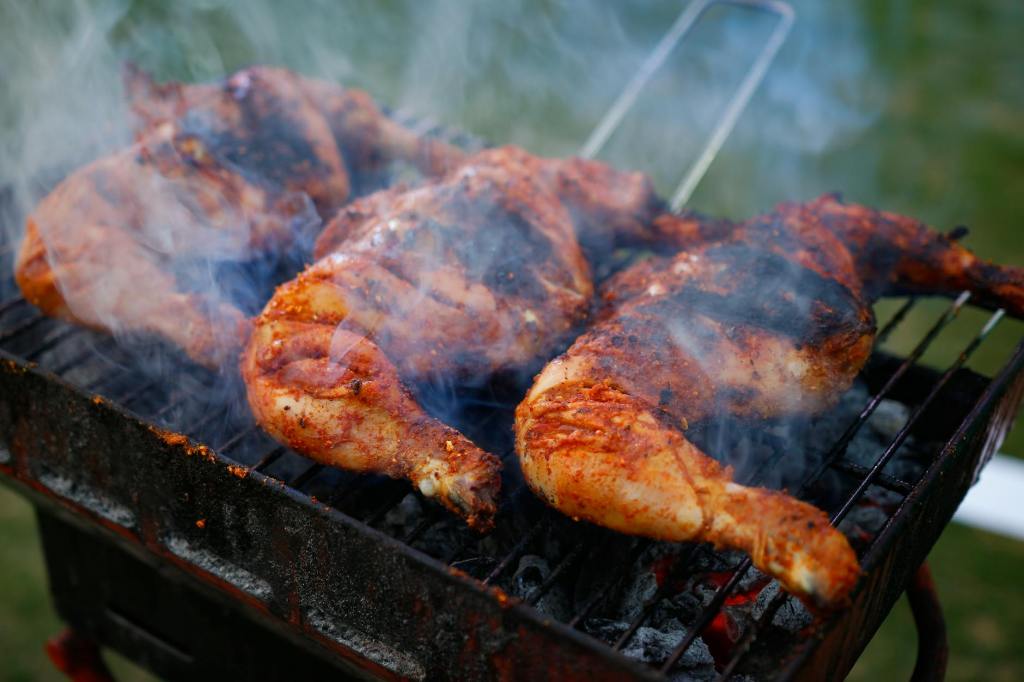
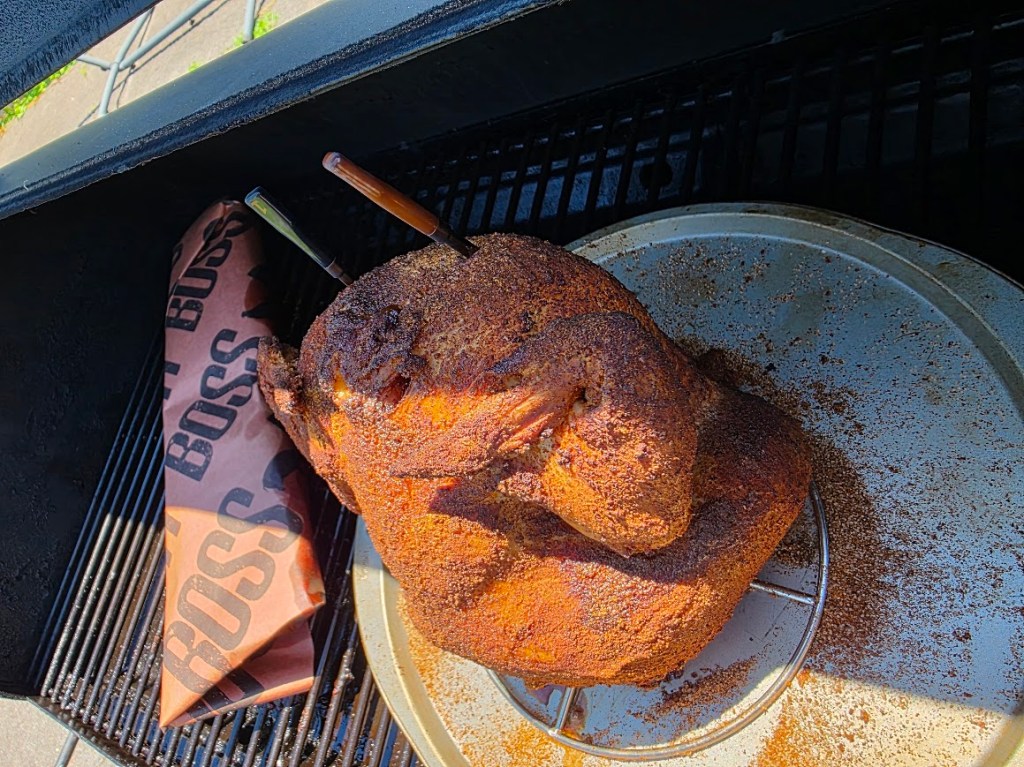
When it was finally time to pull the chicken from the smoker, the first thing I noticed was how good it looked. The skin had developed a nice color from the hickory smoke, and the bird cooked evenly from top to bottom.
As soon as I started slicing into the breast meat, juice began running onto the cutting board. That’s always a good sign.
The hickory smoke came through nicely without overpowering the chicken. It added flavor and depth while still allowing the seasoning and natural flavor of the chicken to stand out.
The family reaction was immediate: juicy and super tasty.
The only area where I think there’s room for improvement is the skin. While it was good, it wasn’t quite as crispy as I would have liked. Running The Beast between 300°F and 315°F produced excellent meat, but next time I may push the temperature a little higher to see if I can get the skin closer to perfect.
As for the beer itself, I’m still not convinced it adds a noticeable beer flavor to the meat. I used a Black Abbey Dunkel Dark Lager and even added some rub to the can, but I couldn’t specifically taste the beer in the finished product.
What I can say is that the chicken turned out incredibly juicy, and the overall method delivered exactly the kind of result I was hoping for.
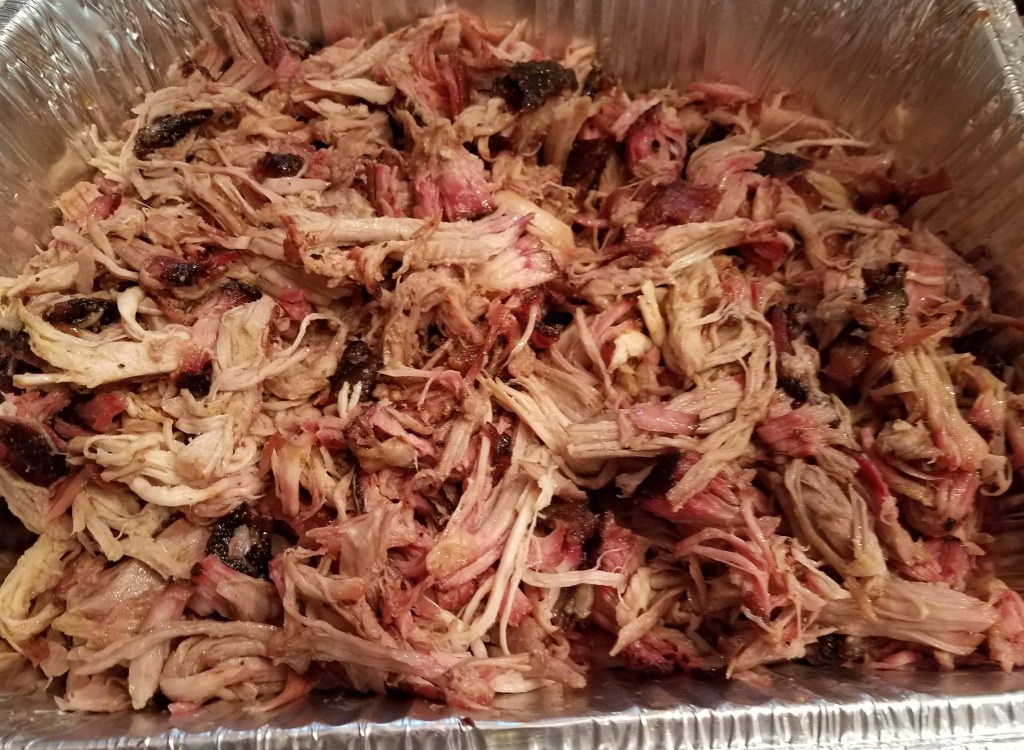
One thing I really liked about this cook was how quickly it came together. While pulled pork remains one of my favorite beginner BBQ cooks, beer can chicken can be cooked in just a few hours and still deliver excellent results.


Final Thoughts
After smoking beer can chicken on The Beast, I can confidently say I’ll be making it again.
The chicken turned out incredibly juicy, with visible moisture running from the breast meat when I sliced into it. The hickory smoke came through nicely without overpowering the flavor of the chicken, and the family gave it rave reviews.
What about the beer?
To be honest, I’m still not convinced the beer itself added much flavor. I used a Black Abbey Dunkel Dark Lager and even added some Central BBQ Rub to the can, but I couldn’t identify any beer flavor in the finished product.
What I can say is that the overall cooking method works. The bird cooked evenly, stayed juicy, and produced excellent results.
The only thing I would change next time is the cooking temperature. Running The Beast around 300–315°F produced great chicken, but the skin wasn’t quite as crispy as I would have liked. Next time, I’ll push the temperature a little higher to see if I can improve the skin while keeping the meat just as juicy.
Whether the beer is doing the work or not, the end result was delicious. That’s enough reason for me to keep beer can chicken in the rotation.
If you’re looking for another beginner-friendly chicken cook, check out my Smoked Chicken Thighs recipe. It’s one of the easiest ways to produce juicy chicken on an offset smoker.