Tag: smoking meat

  • Chef iQ Gen 3 Review: My First Cook on an Offset Smoker

    Chef iQ Gen 3 Review: My First Cook on an Offset Smoker

    A while back, I published an article on some of the best meat thermometers for BBQ and smoking. At the time, the Chef iQ Gen 3 wasn’t included on that list because I hadn’t used one myself. I try not to recommend equipment based solely on manufacturer claims or online reviews. If I’m going to put something on Smoke Tested BBQ, I want to put it through a real cook first.

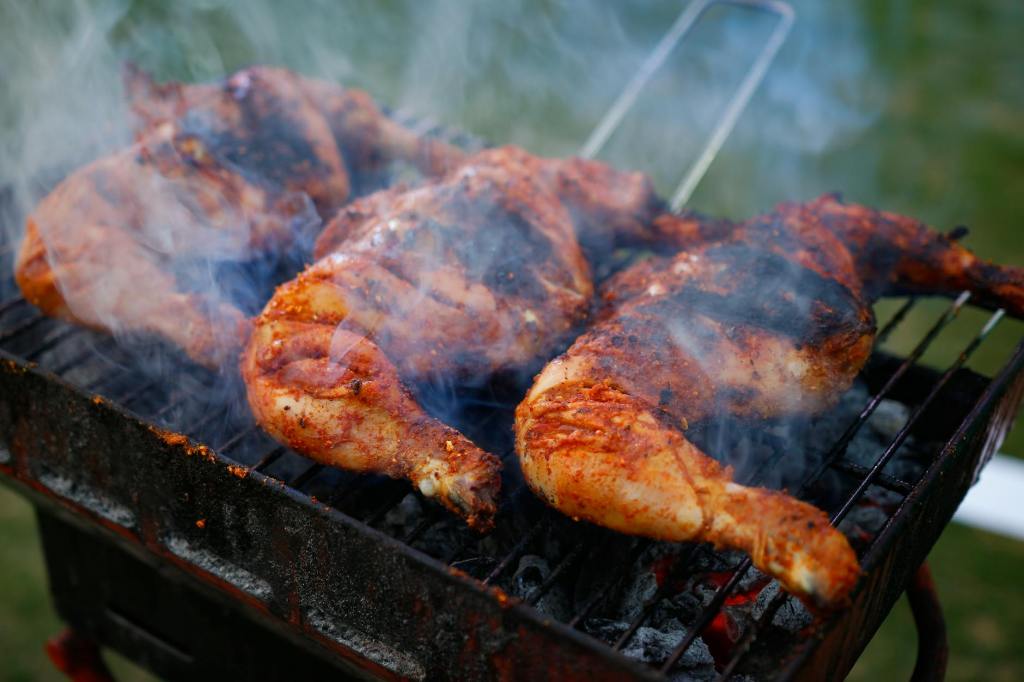
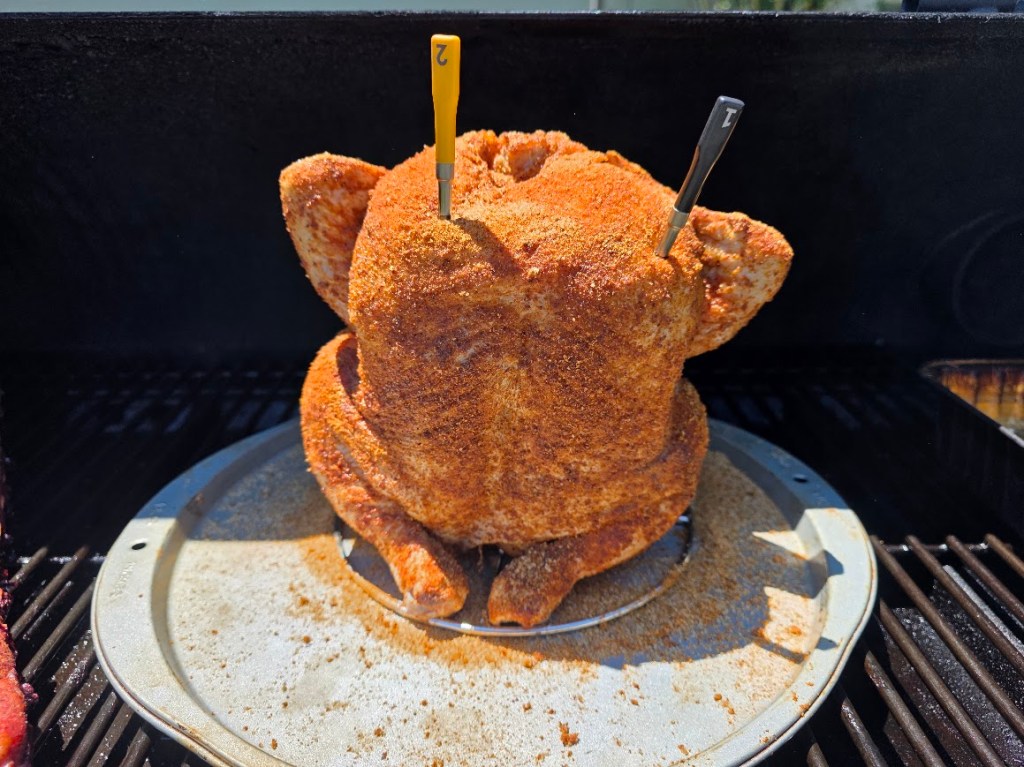
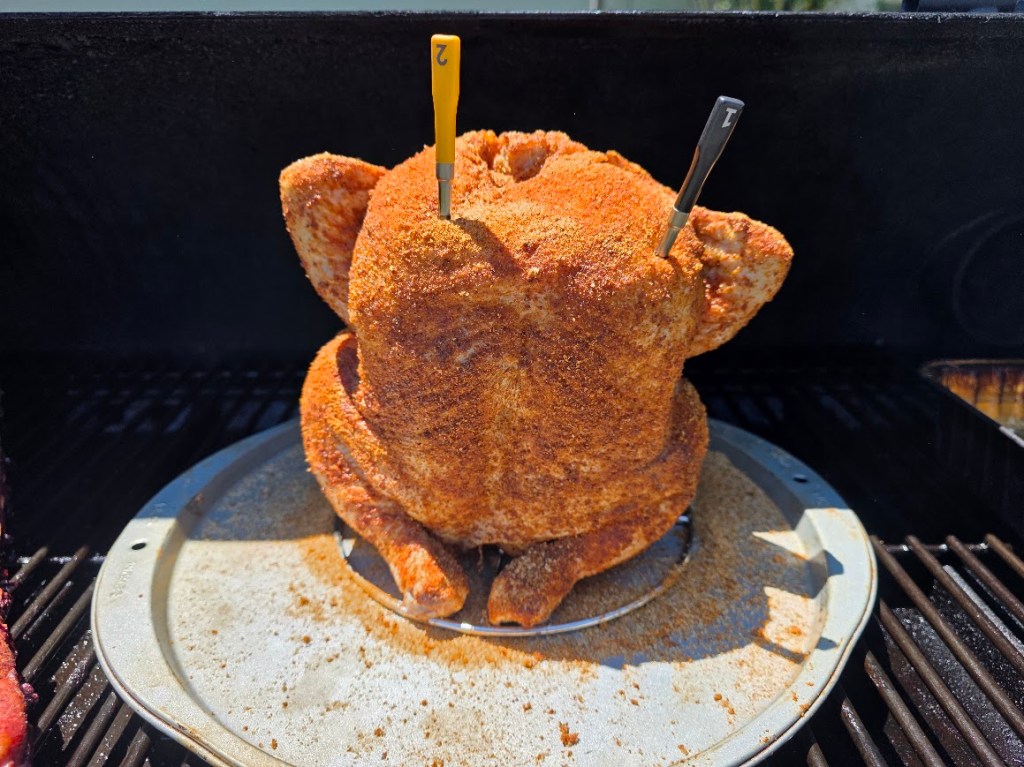
    Recently, I decided to make the jump from a traditional wired thermometer to a completely wireless system and purchased the Chef iQ Gen 3. After using it during a beer can chicken cook on my Oklahoma Joe Longhorn offset smoker—better known around here as The Beast—I came away impressed enough to share my first impressions.

    This isn’t a long-term review after dozens of cooks. Instead, it’s an honest look at my first experience with the Chef iQ Gen 3, what I liked, what I didn’t, and whether I’d buy it again.

    Why I Switched From a Wired Thermometer to the Chef iQ Gen 3

    For years, I relied on wired meat thermometers when smoking BBQ. They worked well enough, but dealing with probe wires was never my favorite part of a cook. Every time I fired up the smoker, I found myself untangling cables, routing wires around hot surfaces, and trying to keep everything organized.

    The wires weren’t a deal breaker, but they were one more thing to manage while tending a fire and cooking meat.

    When it came time to upgrade, I decided I wanted a completely wireless system. My goal wasn’t necessarily to get more features—it was to simplify the process. I wanted something that would let me monitor temperatures without worrying about cables running out of the smoker.

    After researching a few options, I decided to give the Chef iQ Gen 3 a try.

    If you’re interested in checking current pricing or specifications, you can find the Chef iQ Gen 3 Wireless Meat Thermometer on Amazon here.

    First Impressions

    I’ve only used the Chef iQ Gen 3 on one cook so far, but my first impression was very positive.

    Like most new gadgets, there was a small learning curve at the beginning. My biggest challenge wasn’t the thermometer itself—it was figuring out how everything connected to my phone and where to position the charging base for the best signal.

    Once I got past that initial setup, everything became straightforward. The app was easy enough to navigate, the probes paired without much trouble, and the overall system felt intuitive after a few minutes of use.

    What stood out immediately was how much cleaner the setup felt compared to the wired thermometers I had used in the past. Without cables running out of the smoker, the entire process seemed simpler and less cluttered.

    By the time I was ready to start my beer can chicken cook, I felt comfortable with the system and eager to see how it would perform during a real-world smoke.
    Using the Chef iQ Gen 3 on an Offset Smoker

    For my first cook with the Chef iQ Gen 3, I decided to put it to work during a beer can chicken cook on my Oklahoma Joe Longhorn offset smoker, better known around here as The Beast.

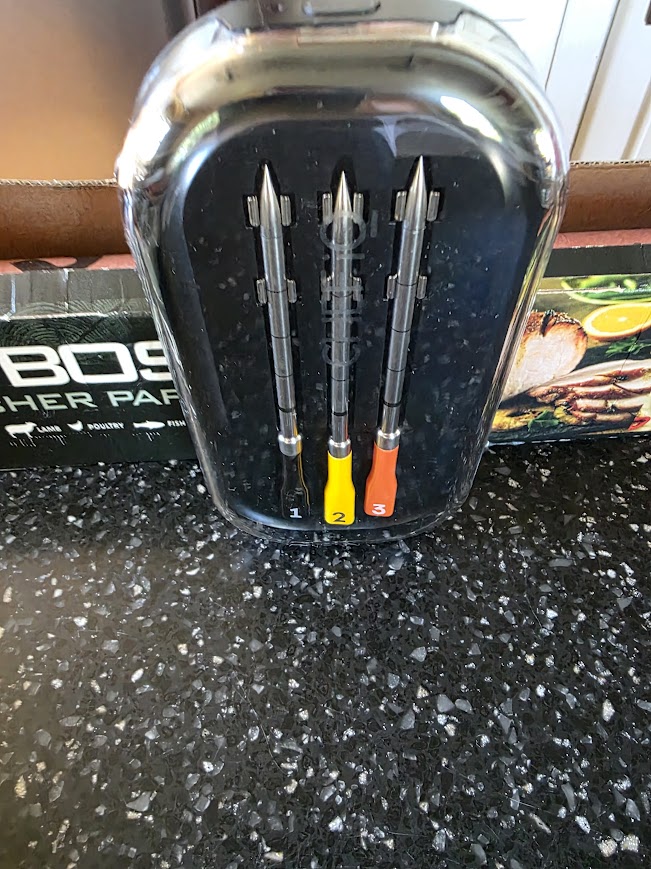
    The thermometer package I purchased included three wireless probes, although I only needed two for this particular cook. Setup was simple. Once the probes were inserted into the chicken and connected through the app, I was able to monitor temperatures without running a single wire out of the smoker.

    That may not sound like a major advantage until you’ve spent years cooking with traditional wired thermometers. There were no cables hanging from the smoker, no wires to route around hot surfaces, and nothing to untangle before or after the cook.

    Instead, I inserted the probes, closed the lid, and focused on managing the fire while keeping an eye on temperatures from my phone.

    For this cook, I used the same charcoal setup I discussed in my article on Best Charcoal for Offset Smokers, which helped maintain steady cooking temperatures throughout the smoke.

    The wireless setup immediately felt like a cleaner and more convenient way to monitor a cook.
    Performance During the Cook

    The real test of any thermometer isn’t the setup—it’s how it performs once the smoker is running.

    During my beer can chicken cook, the Chef iQ Gen 3 maintained a solid connection from start to finish. I never experienced a disconnect, never had to reconnect the probes, and never found myself troubleshooting the app while trying to manage the cook.

    Temperature accuracy also appeared to be very good. Rather than simply trusting the readings on the screen, I checked the temperatures using a separate instant-read digital thermometer.

    The readings matched what I expected to see, giving me confidence that the probes were accurately tracking the cook.

    One of the biggest benefits of a quality thermometer is being able to monitor temperature changes without constantly opening the smoker. If you’re struggling with fluctuating temperatures, check out my guide on Why Your Smoker Temperature Keeps Swinging and How to Fix It.

    While it’s still too early for me to make long-term claims about durability or reliability after only one cook, my first experience left me impressed with both the connection stability and temperature accuracy.

    What I Liked About the Chef iQ Gen 3

    After my first cook with the Chef iQ Gen 3, the biggest advantage was simple: no wires.

    I’ve used wired thermometers for years, and while they get the job done, dealing with probe wires is never the fun part of a cook. With the Chef iQ, the entire process felt cleaner and more convenient from start to finish.

    Inserting the probes into the meat was easier. Removing them when the cook was finished was easier. Cleanup afterward was easier. Without cables attached to each probe, there was simply less to manage.

    I also appreciated not having to route wires out of the smoker or worry about them getting in the way while tending the fire. Once the probes were in place, I could close the lid and focus on the cook.

    The app was another pleasant surprise. After the initial setup and learning curve, it was straightforward to use and made monitoring temperatures simple.

    Most importantly, the wireless design delivered exactly what I was hoping for when I bought it: convenience. Instead of feeling like I was managing equipment, I felt like I was simply cooking barbecue.

    Things to Know Before Buying

    No piece of BBQ equipment is perfect, and there are a few things potential buyers should know before purchasing the Chef iQ Gen 3.

    The first is the price. At $129.95 for the three-probe package, the Chef iQ costs considerably more than many traditional wired thermometers. If your current thermometer is working well and you don’t mind dealing with wires, the price may be difficult to justify at first.

    I also found that the placement of the charging base matters. During my first cook, I spent a little time figuring out the best location for maintaining a strong connection between the probes and my phone. Once I found the right spot, I didn’t experience any connection issues, but there was a brief learning curve.

    The only other thing I’d like to see is more probes. The three-probe package is plenty for many cooks, and I only used two probes during my beer can chicken cook. However, when smoking multiple pork butts, several racks of ribs, or a combination of meats, I can see situations where additional probes would be useful.

    None of these issues were deal breakers for me, but they’re worth considering before making the investment.


    Final Verdict

    After my first cook with the Chef iQ Gen 3, I can honestly say I’d buy it again.

    The wireless design delivered exactly what I was hoping for when I decided to move away from wired thermometers. From inserting the probes to monitoring temperatures and cleaning up afterward, the entire process felt simpler and more convenient.

    The thermometer maintained a strong connection throughout my cook, the app was easy to use once I completed the initial setup, and the temperature readings matched what I saw with my instant-read digital thermometer.

    While the price is higher than many wired alternatives, the convenience was immediately noticeable and made the upgrade worthwhile for me.

    I think the Chef iQ Gen 3 is a solid option for both beginners and experienced pitmasters. Beginners will appreciate the straightforward operation and easy-to-use app, while experienced BBQ cooks will enjoy the freedom that comes with a truly wireless system.

    One final note: this review is based on my first cook with the Chef iQ Gen 3. As I continue using it on future cooks, I’ll update this article with additional observations and long-term impressions.

    For now, though, the Chef iQ Gen 3 has earned a permanent place in my BBQ toolbox.

    If you’re interested in learning more about the Chef iQ Gen 3 or checking current pricing, you can find it on Amazon here: Chef IQ Gen 3
  • Easy Smoked Spare Ribs on an Offset Smoker (And Why I Don’t Follow 3-2-1 Exactly)

    Easy Smoked Spare Ribs on an Offset Smoker (And Why I Don’t Follow 3-2-1 Exactly)

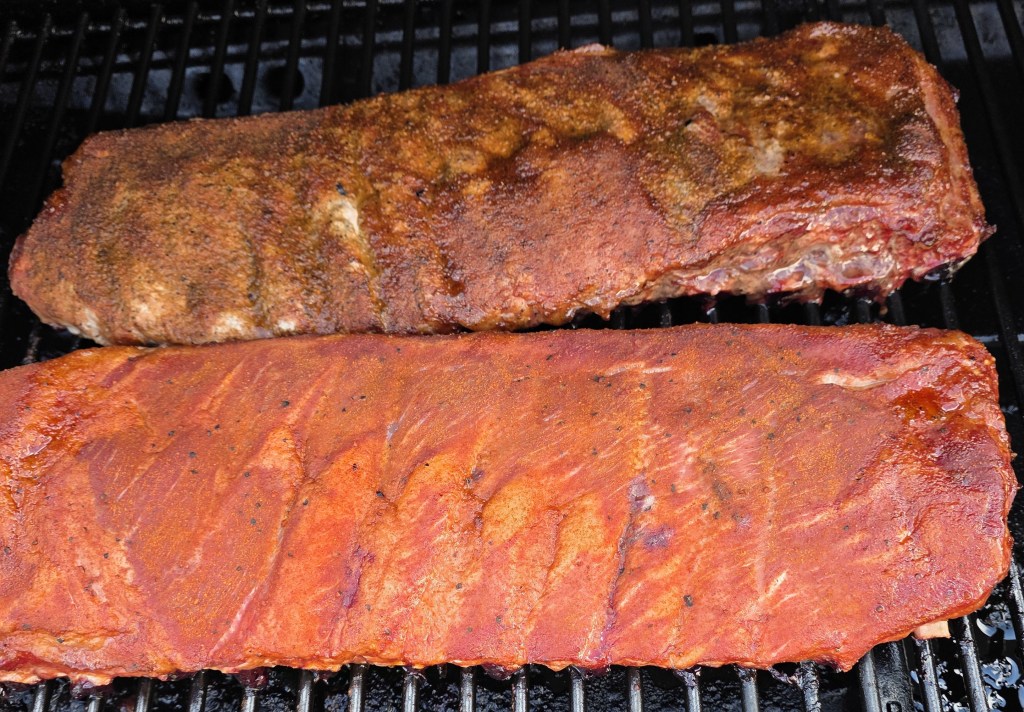
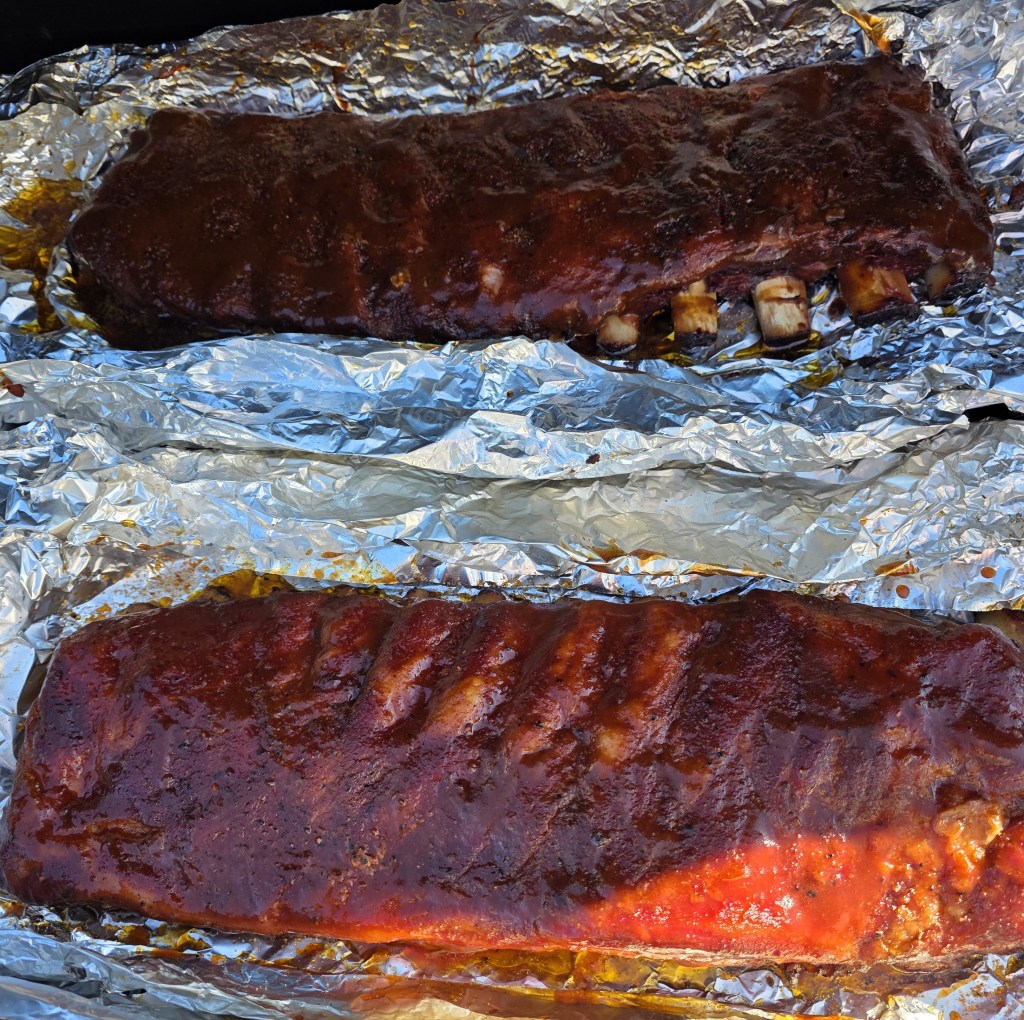
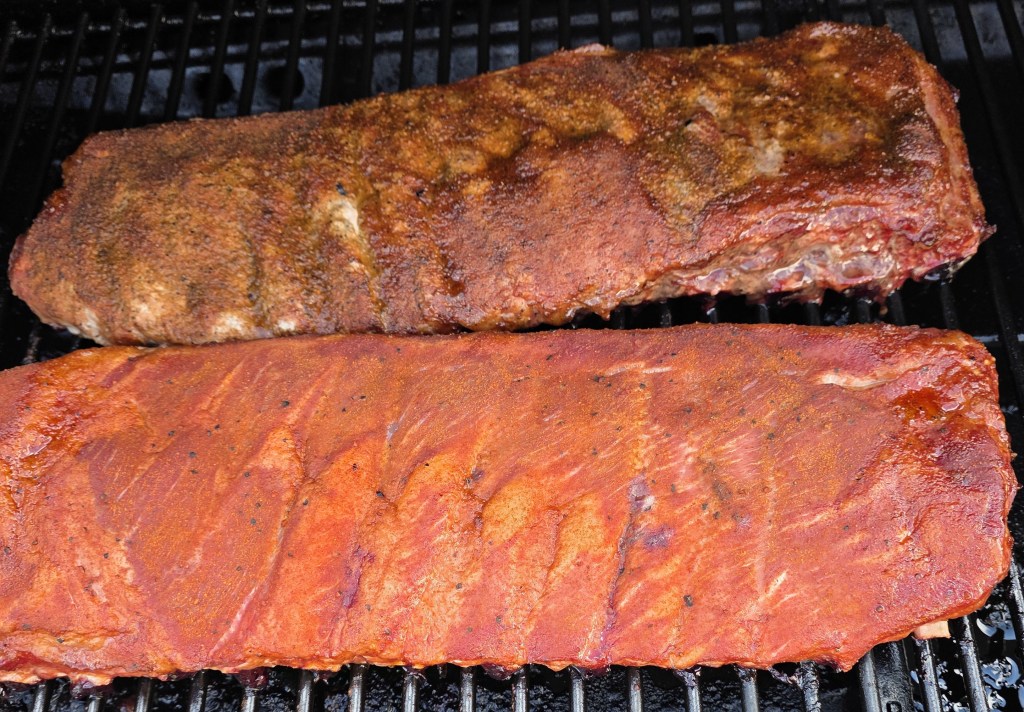
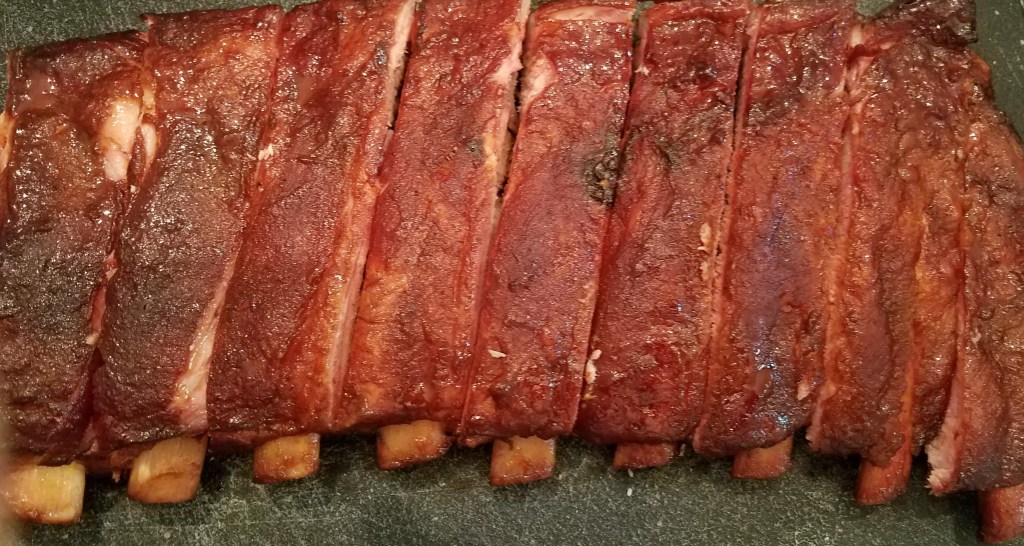
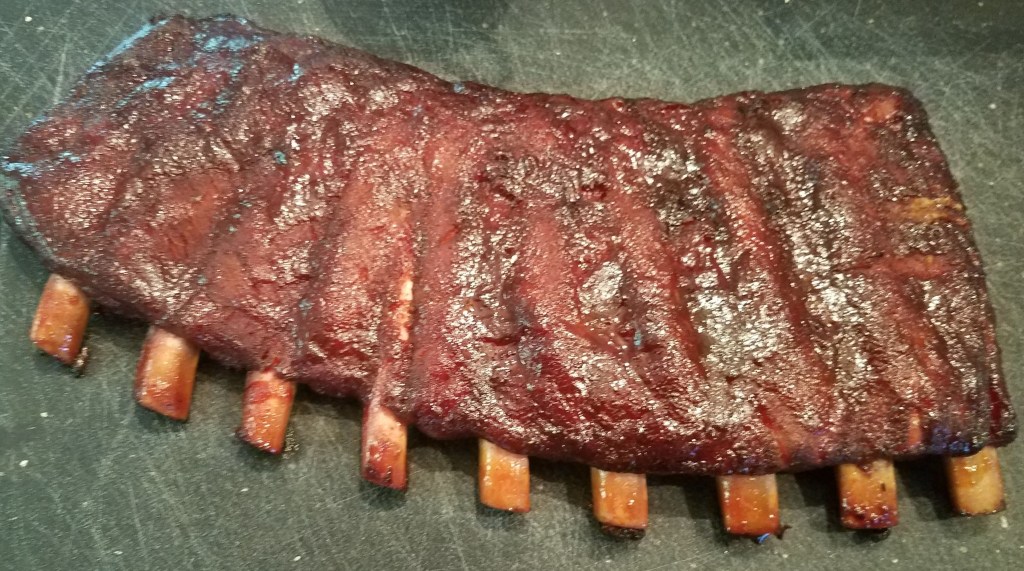
    Spare ribs are one of my favorite cooks on an offset smoker. Over the years I’ve probably cooked them 30 or 40 times, and if there’s one thing I’ve learned, it’s that the 3-2-1 method is a guideline—not a law. At 250°F–275°F, blindly following the clock can leave you with overcooked ribs. Here’s the approach I actually use on The Beast.

    Ingredients

    1 rack St. Louis-style spare ribs

    Yellow mustard (binder)

    BBQ rub of choice

    Water (for spritzing)

    Squeeze butter

    Honey (optional)

    BBQ sauce (optional)

    A Few Rubs I Use Regularly

    Kinder’s Black Cherry Chipotle – sweet with a touch of heat

    Heath Riles Honey Rub – Sweet

    Killer Hogs The BBQ Rub – More on the sweet side as well

    Most of the time I lean toward sweeter rib rubs with a little heat. Over the years I’ve made my own rubs and tried dozens of commercial options, but these are three that regularly find their way back onto my ribs.

    Smoker Setup

    For spare ribs on The Beast, I typically run between 250°F and 275°F.

    Fuel setup:

    • Charcoal base (lump or briquettes)
    • Wood splits for steady heat
    • Hickory or pecan work well
    • Cherry and peach are excellent options if you want a slightly sweeter smoke profile

    I keep the ribs bone-side down throughout the cook and spritz with water about every 30 minutes to keep the surface from drying out.

    One thing that surprises people:

    My rib cooks usually finish in 4 to 4½ hours, not six.

    That’s one reason I don’t follow the traditional 3-2-1 method exactly.

    At the temperatures I cook, blindly following the clock can easily lead to overcooked ribs.

    I pay more attention to:

    • Color
    • Bark development
    • Meat pullback
    • The bend test

    The ribs determine the timeline—not the other way around.

    Step 1: Prep the Ribs

    If you’re starting with a full rack of spare ribs, trim them to St. Louis style if desired. Most of the time I buy them already trimmed.

    Remove the membrane from the back of the ribs.

    A simple trick:

    Use a sharp knife to get underneath one corner of the membrane, then grab it with a dry paper towel and pull.

    The paper towel gives you enough grip that the membrane usually comes off in one piece.

    Trust me—this gets easier. My first few rib cooks involved a lot more fighting with the membrane than actual cooking.

    Once the membrane is removed:

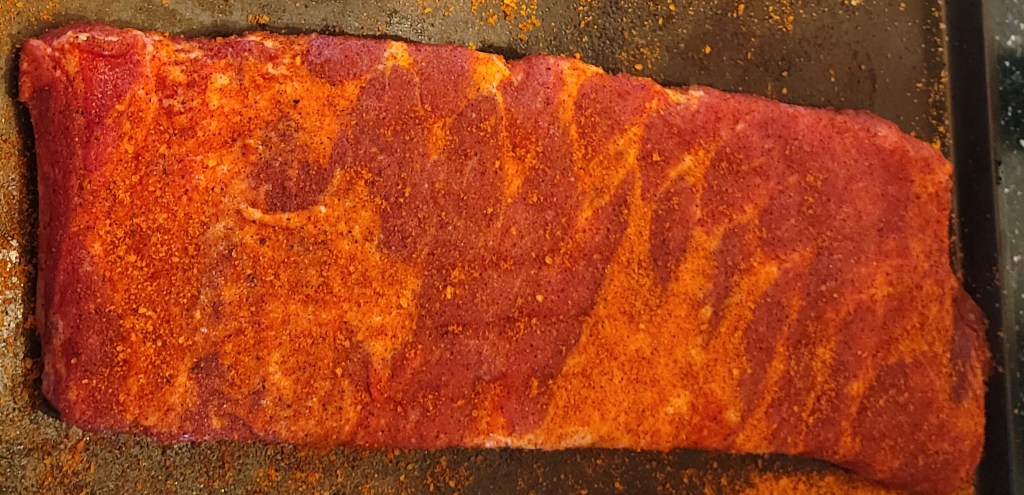
    • Lightly coat the ribs with yellow mustard
    • Apply a generous layer of your favorite BBQ rub
    • Let the ribs sit while the smoker comes up to temperature

    I generally prefer sweeter rib rubs with a little heat, but ribs are one of the easiest cuts to experiment with.

    Step 2: Smoke the Ribs

    Place the ribs on the smoker bone-side down and cook at 250°F–275°F.

    Throughout the cook, I spritz with water about every 30 minutes to help keep the surface from drying out.

    One thing I don’t do:

    I don’t wrap based strictly on time.

    A lot of rib recipes will tell you to wrap after exactly two or three hours. I pay more attention to what the ribs are telling me.

    I’m looking for:

    • Bark beginning to develop
    • A darker mahogany color
    • Good seasoning adhesion
    • The surface looking set

    For me, this usually happens around the two-hour mark, but every cook is different.

    When the color and bark look right, it’s time to wrap.

    Step 3: The Wrap

    Once the bark has developed and the color is where I want it, I wrap the ribs.

    For the wrap, I usually use either foil or butcher paper, depending on the cook.

    My process is simple:

    1. Squeeze a layer of butter onto the foil.
    2. Sprinkle a little of the same BBQ rub onto the butter.
    3. Place the ribs meat-side down on top.
    4. Add a light dusting of rub to the bone side.
    5. Wrap tightly and return to the smoker.

    If I want a sweeter finish, I’ll add a little honey before wrapping.

    You don’t really need to add anything to the bone side, but I like adding a little rub there. It helps with color and keeps the flavor consistent throughout the rack.

    Once wrapped, I place the ribs back on the smoker and continue cooking until they’re tender.

    Step 4: Knowing When the Ribs Are Done

    This is where I think a lot of beginners get into trouble.

    They watch the clock instead of the ribs.

    After the ribs have been wrapped for a while, I’ll carefully open the foil and take a look.

    The first thing I’m checking is meat pullback on the bones.

    If the meat has started shrinking back from the ends of the bones, that’s usually a good sign that they’re getting close.

    If I’m still not sure, I’ll use the bend test.

    Using a pair of tongs, I’ll pick up the rack from one end and let it hang.

    If the rack bends easily and the meat begins to crack or pull apart slightly, they’re ready.

    If the rack still feels stiff, it goes back on the smoker.

    The clock doesn’t make this decision.

    The ribs do.

    Step 5: Finish the Ribs

    After the ribs pass the bend test, remove them from the wrap and place them back on the smoker.

    This final stage isn’t about cooking the ribs much longer.

    It’s about:

    • Setting the bark
    • Setting the sauce (if using sauce)
    • Letting the outside tighten up slightly

    If I’m making Memphis-style dry ribs, I may skip sauce entirely.

    If I’m using sauce, I’ll apply a light coat and let it set for about 30 minutes.

    This final stage is usually much shorter than many traditional rib recipes suggest.

    At this point, the ribs are already tender. I’m simply finishing them the way I like them.

    A Quick Note on BBQ Sauce

    One thing I’ve learned over the years is that ribs don’t always need sauce.

    If I’m making a Memphis-style dry rib, the bark and seasoning do most of the work.

    That said, there are plenty of times when I want a little sweetness or tang to finish the cook.

    A few sauces I’ve used repeatedly include:

    I usually apply sauce during the final 30 minutes of the cook. The goal isn’t to drown the ribs. I just want enough time for the sauce to set and become part of the bark.

    My Take on the 3-2-1 Method

    If you’ve spent any time researching smoked ribs, you’ve probably heard of the 3-2-1 method.

    The idea is simple:

    • 3 hours unwrapped
    • 2 hours wrapped
    • 1 hour unwrapped to finish

    For a lot of people, it’s their introduction to smoking ribs.

    The problem is that many beginners treat it like a rule instead of a guideline.

    At lower temperatures, the 3-2-1 method can work reasonably well. But when I’m cooking ribs at 250°F to 275°F, a strict 3-2-1 schedule can easily overcook them.

    That’s one reason I don’t follow it exactly.

    Most of my rib cooks end up looking more like:

    • About 2 hours unwrapped
    • Around 2 hours wrapped
    • About 30 minutes unwrapped to finish

    Sometimes even less.

    The biggest mistake beginners make isn’t undercooking ribs.

    It’s believing that every rack cooks on the same schedule.

    Ribs don’t care what the clock says.

    They care about heat, airflow, thickness, and how they’re cooking on that particular day.

    That’s why I pay more attention to:

    • Bark development
    • Color
    • Meat pullback
    • The bend test

    than I do to the timer.

    If the ribs aren’t ready, they stay on the smoker.

    If they’re ready early, I don’t keep cooking them just because a chart says I should.

    The ribs determine the schedule—not the other way around.

    Final Thoughts

    Spare ribs are one of my favorite things to cook on an offset smoker.

    They’re forgiving enough for beginners, but they still teach some of the most important lessons in BBQ:

    • Fire management
    • Patience
    • Smoke control
    • Learning when meat is actually done

    Over the years I’ve probably cooked ribs 30 or 40 times, and if there’s one thing I’ve learned, it’s that the best cooks happen when you stop obsessing over the clock and start paying attention to the food.

    That’s why I don’t follow the 3-2-1 method exactly.

    It’s a useful guideline, but every rack is different.

    Some finish sooner.

    Some take longer.

    The ribs determine the schedule.

    When the bark looks right, the color is where I want it, and the bend test tells me they’re ready, that’s when they come off the smoker.

    Some pitmasters prefer competition-style ribs with a clean bite.

    I don’t cook for judges.

    I cook for family and friends.

    My preference is ribs that are tender, flavorful, and easy to pull from the bone.

    At the end of the day, that’s the only scorecard that matters to me.

  • Easy Smoked Pulled Pork on an Offset Smoker (Beginner Friendly)

    Easy Smoked Pulled Pork on an Offset Smoker (Beginner Friendly)

    Pulled pork might be one of the most forgiving meats to learn on an offset smoker. It takes time, but unlike brisket, small mistakes usually won’t ruin the cook. If you’re learning fire management, smoke control, and patience, pork shoulder is a good place to start.

    Ingredients

    • 1 pork shoulder / Boston butt (6–9 lbs works well)
    • Yellow mustard (binder, optional)
    • BBQ rub of choice
    • Apple juice or apple cider vinegar (spritz, optional)
    • Aluminum foil or butcher paper
    • BBQ sauce (optional for serving)

    Smoker Setup

    For pulled pork on The Beast, I usually run between 250°F and 275°F. Purists love 225°F, but I’d rather finish before tomorrow and still get good bark.

    Fuel setup:

    • Charcoal base (lump or briquettes both work)
    • Wood splits preferred for steadier heat
    • Pecan or hickory for smoke flavor

    I’ll occasionally spritz with water or apple cider vinegar if the bark starts looking dry.

    One thing beginners learn quickly:

    Temperature matters more than time.

    This is where a digital thermometer earns its money.

    The rest of the cook is simple:

    Season → Smoke → Wrap → Rest → Pull

    Pulled pork rewards patience more than perfection.

    Step 1: Prep the Pork Shoulder

    Pat the pork shoulder dry if needed.

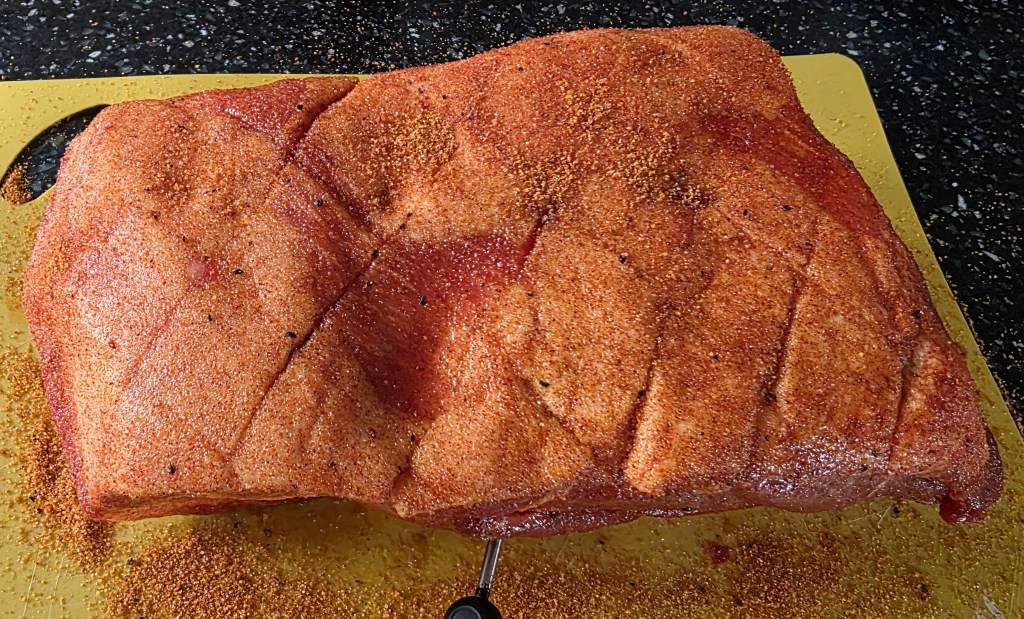
    Lightly coat the outside with yellow mustard. The mustard acts as a binder and helps seasoning stick. Don’t worry — you won’t taste much mustard after a long cook.

    Apply your BBQ rub generously on all sides.

    I used to mix my own sweeter rub with a brown sugar base, but these days there are enough good commercial rubs around that I’ll rotate and try different ones.

    A few BBQ rubs I’ve liked for pulled pork:

    Meat Church Holy Gospel → slightly sweet with enough savory flavor to work well on pork

    Heath Riles Sweet BBQ Rub → balanced and versatile; good bark development

    Killer Hogs The BBQ Rub → one of my go-to options when I want a sweeter profile on pork

    One benefit of pork shoulder:

    It’s forgiving.

    You don’t have to overthink seasoning nearly as much as brisket.

    Let the pork sit while the smoker comes to temperature.

    Step 2: Smoke the Pork Shoulder

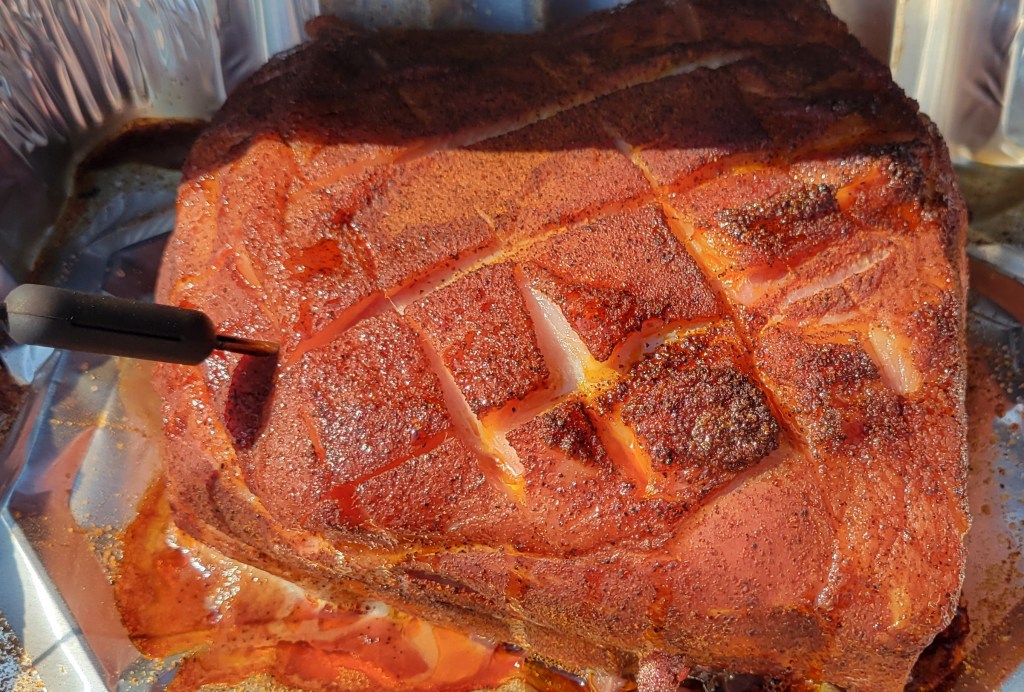
    Place the pork shoulder on the smoker with the fat cap facing up.

    I’ll usually score the fat cap in a diamond pattern beforehand. Some people swear it helps smoke and seasoning work deeper into the bark, and at minimum it helps create more surface area.

    Cook around:

    250°F–275°F

    Expect roughly:

    45 minutes to 1 hour per pound

    A typical 7–8 lb shoulder can easily turn into an all-day cook.

    A few things I watch during the cook:

    • Smoke quality (thin smoke beats heavy white smoke)
    • Bark development
    • Moisture on the outside of the pork
    • Hot spots in the smoker

    On an offset, one side sometimes cooks differently than another.

    If I think part of the pork is drying out faster, I’ll occasionally rotate the shoulder.

    I may spritz with water or apple cider vinegar if the bark starts looking dry.

    At around:

    167°F–175°F internal temperature

    Wrap tightly in foil to push through the stall and help retain moisture.

    Step 3: Rest, Pull, and Finish

    Once the pork shoulder reaches around 203°F internal temperature, pull it from the smoker and let it rest for about an hour.

    Skipping the rest is one of the easiest mistakes beginners make.

    The juices need time to redistribute.

    After resting:

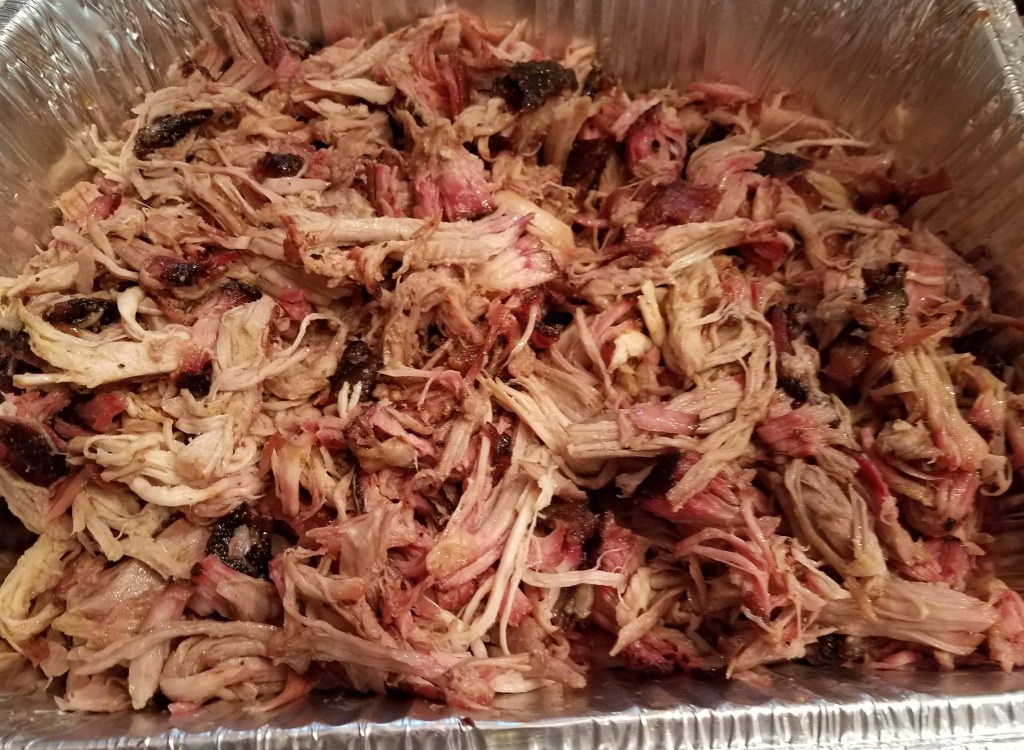
    • Shred or pull the pork
    • Mix bark pieces throughout for texture and flavor
    • Add a small amount of reserved juice back in (not all of it)
    • Sprinkle in a touch more BBQ rub if needed

    The goal isn’t wet pulled pork.

    The goal is moist pork that still tastes like smoke and bark.

    One thing I usually avoid:

    Adding sauce immediately.

    I’d rather let people sauce their own so the smoked pork flavor still comes through.

    Common Pulled Pork Mistakes Beginners Make

    ❌ Pulling the pork too early
    203°F matters more than impatience. Need a reference? Check out my guide on target temperatures for pork, chicken, and brisket.

    ❌ Not using a digital thermometer
    Guessing costs more cooks than seasoning mistakes.

    ❌ Skipping the rest period
    Hot pork isn’t ready pork.

    ❌ Chasing smoker temperatures every 10 minutes
    Offset cooking rewards patience.

    Final Thoughts

    Pulled pork is one of the best meats to learn on an offset smoker.

    It teaches:

    • Fire management
    • Patience
    • Smoke control
    • Temperature monitoring

    …and unlike brisket, small mistakes usually won’t ruin the cook.

    One thing I like about pulled pork:

    The leftovers rarely go to waste.

    It works on:

    • BBQ baked potatoes
    • Sandwiches
    • Nachos

    I’ll also vacuum seal or freeze portions in zip bags, and it reheats surprisingly well later.

    A long cook turns into several meals.

    That’s hard to beat.

  • Easy Smoked Chicken Thighs on an Offset Smoker (Beginner Friendly)

    Easy Smoked Chicken Thighs on an Offset Smoker (Beginner Friendly)

    Chicken thighs might be one of the best things to learn on an offset smoker. They’re forgiving, cheaper than brisket, and still give you that smoky flavor that makes people think you know what you’re doing.

    Why Chicken Thighs?

    If you’re learning fire management on an offset smoker, chicken thighs give you room for mistakes. Temperature swings that would wreck a brisket? Chicken thighs usually survive just fine.

    I’ve cooked plenty of things where chasing temperatures became the whole cook. Chicken thighs are easier.


    Ingredients

    • 8 bone-in, skin-on chicken thighs
    • 2 tbsp olive oil
    • 2 tbsp BBQ rub (your favorite)
    • 1 tsp garlic powder
    • 1 tsp paprika
    • 1/2 tsp black pepper
    • Optional: light dusting of brown sugar for color

    Smoker Setup

    For this cook I’d run:

    • Smoker temp: 250°F–275°F
    • Wood: Oak, hickory, pecan, or fruit wood
    • Target internal temp: 175°F–185°F

    Yes, thighs are different than chicken breast. Going higher breaks down connective tissue and actually improves texture.


    Step 1: Prep the Chicken

    Pat thighs dry.

    Lightly coat with olive oil.

    Apply seasoning generously, especially under the skin edges if possible.

    Let rest while smoker heats.


    Step 2: Get Clean Smoke

    One mistake beginners make:

    Too much dirty white smoke.

    You want thinner blue-ish smoke if possible.

    Heavy white smoke can leave bitter flavor.

    (If your smoker temperatures swing a lot, check out my article on managing offset smoker temps.)


    Step 3: Smoke

    Place thighs skin side up.

    Cook approximately:

    60–90 minutes

    Time varies more by smoker temp than people realize.

    At around 160°F internal temp:

    Optional:
    Brush lightly with BBQ sauce.


    Step 4: Finish

    Pull thighs around:

    175–185°F internal

    Need a quick reference? Check out my guide on Target Temps for Chicken, Pork, and Brisket (No Guessing, No Panic).

    Skin should look darker and slightly crisp.

    Rest 5–10 minutes.


    What Went Right / What Went Wrong

    Good signs:

    ✔ Bite-through skin
    ✔ Juicy meat
    ✔ Mild smoke flavor

    Problems:

    Rubbery skin?
    Smoker temp likely too low.

    Bitter taste?
    Too much dirty smoke.

    Dry meat?
    Cooked too long above target temp.


    Final Thoughts

    Chicken thighs don’t get talked about like brisket or ribs, but they might be the best practice cook for learning an offset smoker. Cheaper, forgiving, and hard to mess up.