
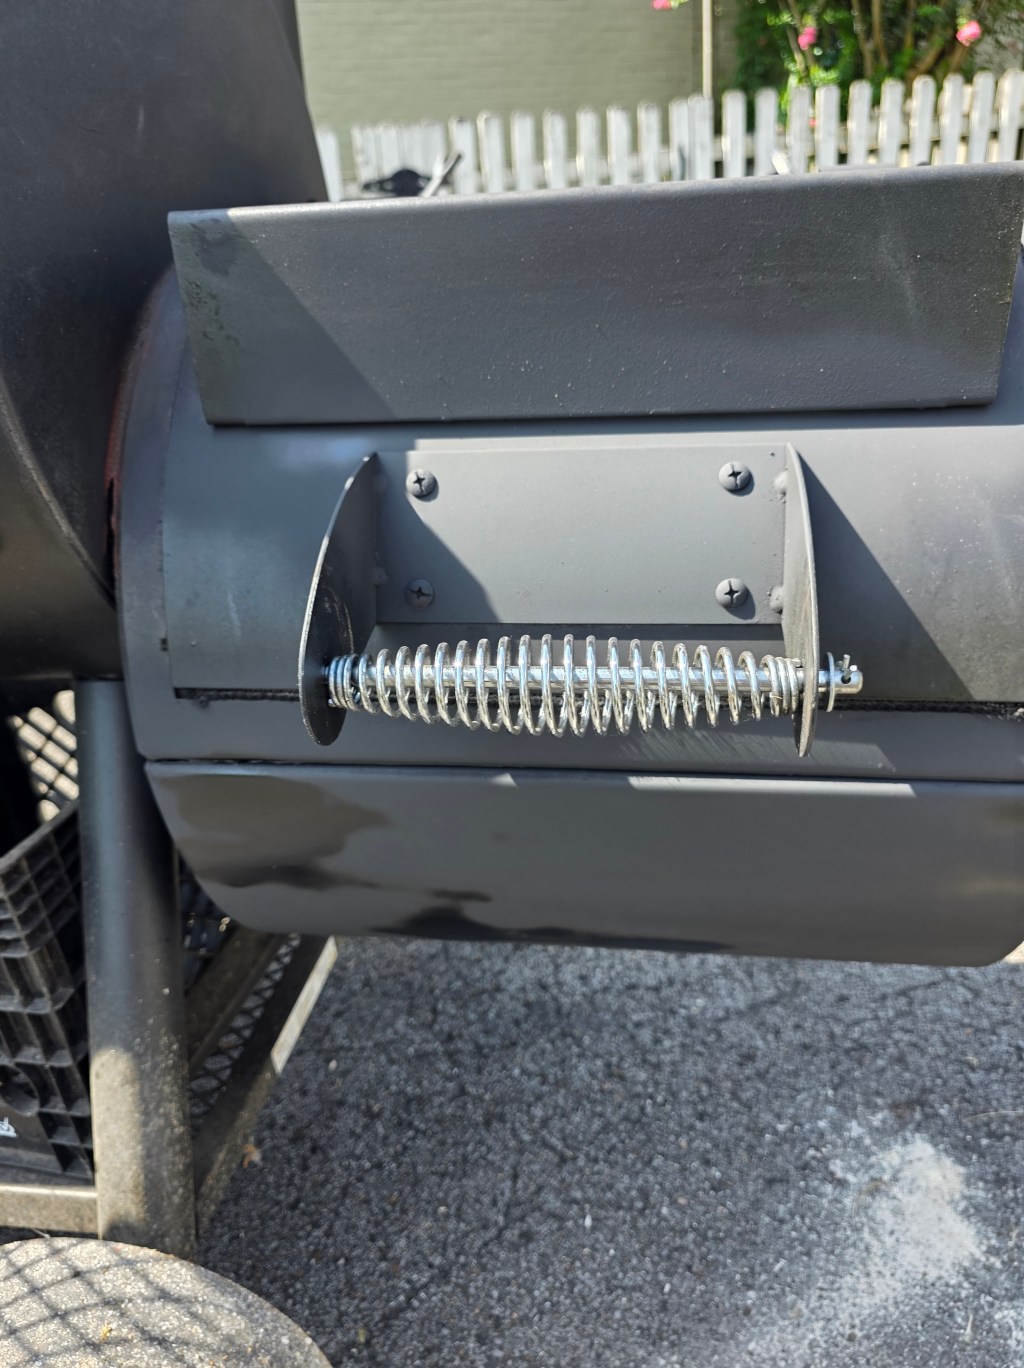
The firebox on an offset smoker takes a beating.
Between high heat, weather, grease, and repeated cooks, it is one of the first places I expect to show wear. That same heat exposure is also one reason offset smokers can be tricky to manage, especially when you’re dealing with smoker temperature fluctuations. Recently, I started noticing several rusty areas on the firebox of my Oklahoma Joe Longhorn Reverse Flow, better known around here as The Beast.
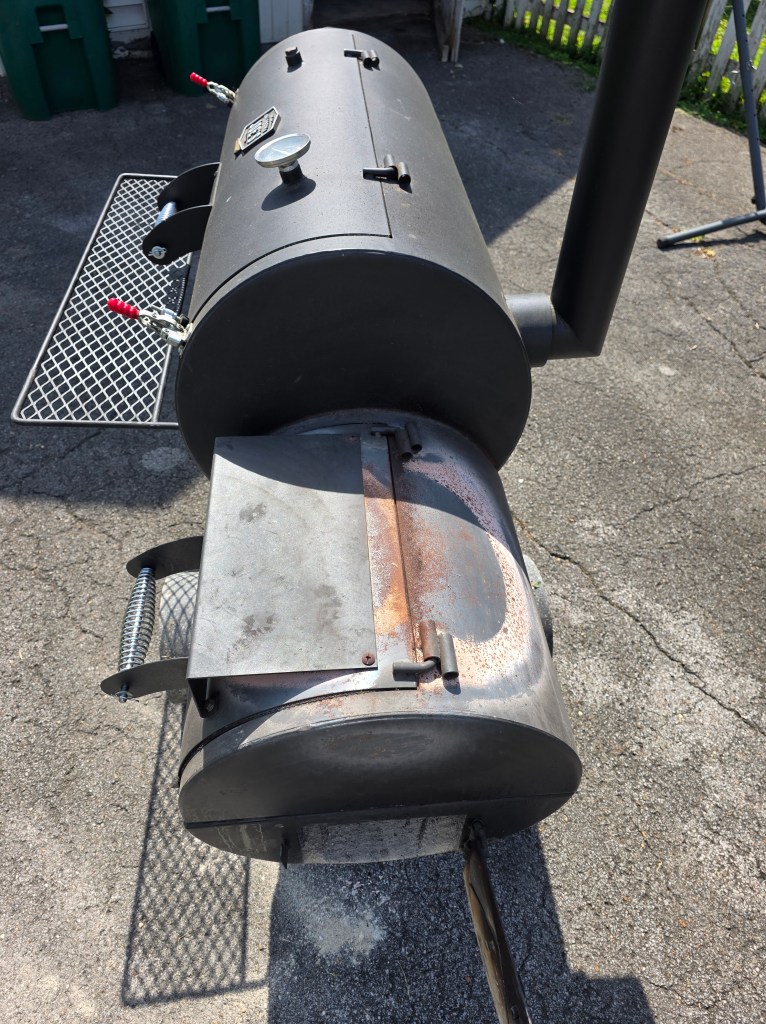
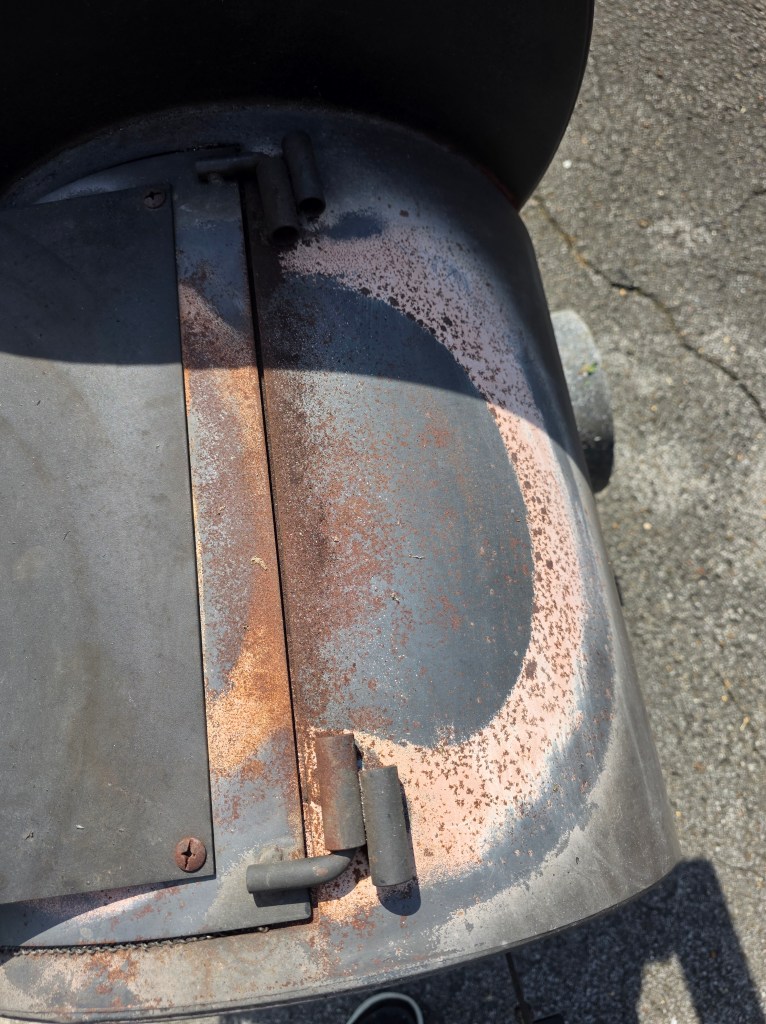
Some of the spots looked worse than others, especially around the top, sides, and underneath the firebox. At first, I was a little concerned that the rust might be getting serious.
Once I started sanding, though, I found that most of it was more cosmetic than I expected.
Rather than let it continue spreading, I decided to clean up the affected areas, sand away the surface rust, and touch them up with high-heat paint.
This was not a full restoration. I did not strip or repaint the entire firebox. I simply worked on the areas that needed attention.
Here is how I did it.
Why I Decided to Work on the Firebox
My main reasons were appearance and rust prevention.
The Beast still worked fine, but the rusty patches were becoming more noticeable. I use the firebox hard during regular cooks, usually with charcoal and wood, so the wear wasn’t exactly a surprise. I talk more about the charcoal I use in my offset smoker in another article. Some were on the top of the firebox, others were along the sides and bottom.
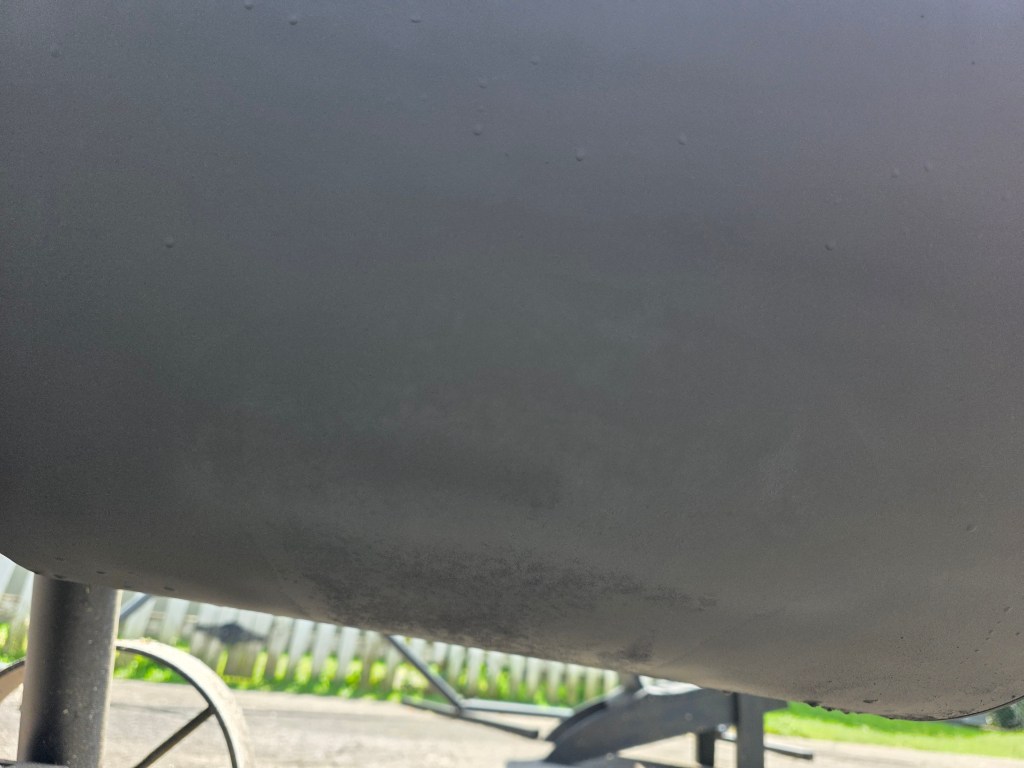
The underside was probably the ugliest part because it is easy to overlook until you crouch down and actually look underneath.
I would rather deal with a little surface rust now than ignore it and find out later that I should have taken care of it sooner.
The Rust Wasn’t as Bad as It Looked
Before I started, some of the rust looked pretty rough.
Once I began sanding, I realized it was mostly surface-level and cosmetic. I was not dealing with major deterioration or deep corrosion.
That was a relief.
It also meant I did not need to turn this into a major restoration project. My goal was simply to remove the loose rust, smooth the affected areas, and give the exposed metal some protection again.
What I Used
I kept the project pretty simple.
For sanding, I used a 3M Pro Grade Precision 80-grit sanding sponge.
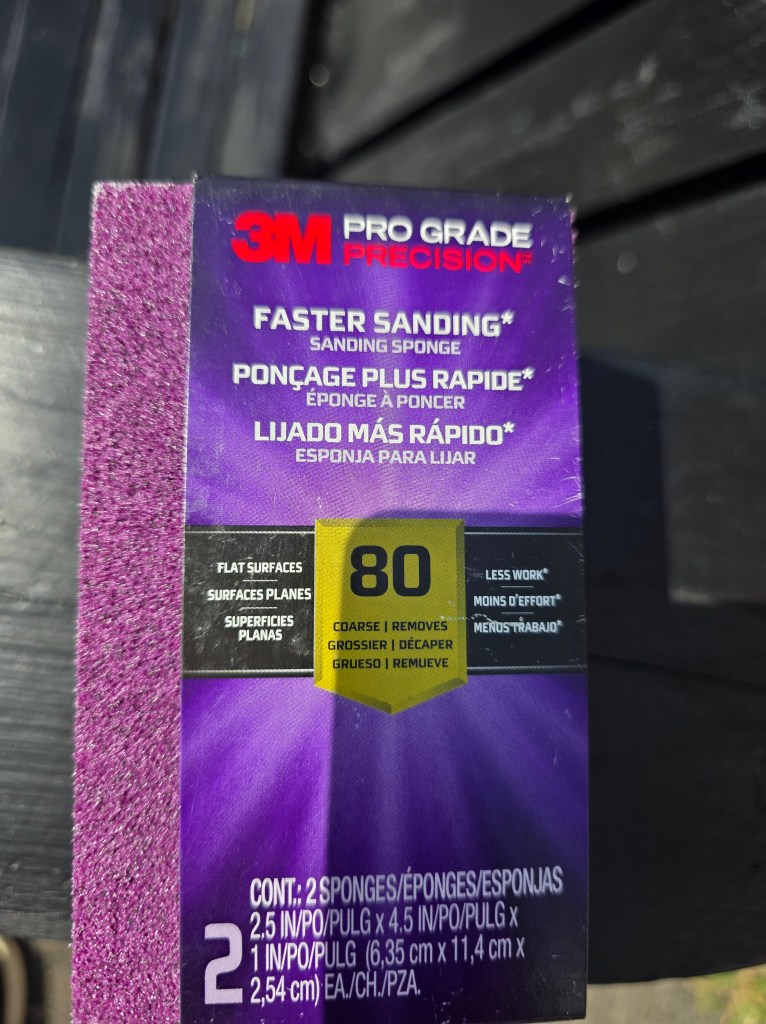
I did all of the sanding by hand. No drill attachment, wire wheel, or power sander.
For paint, I used Rust-Oleum High Heat spray paint intended for grills and other high-temperature surfaces.
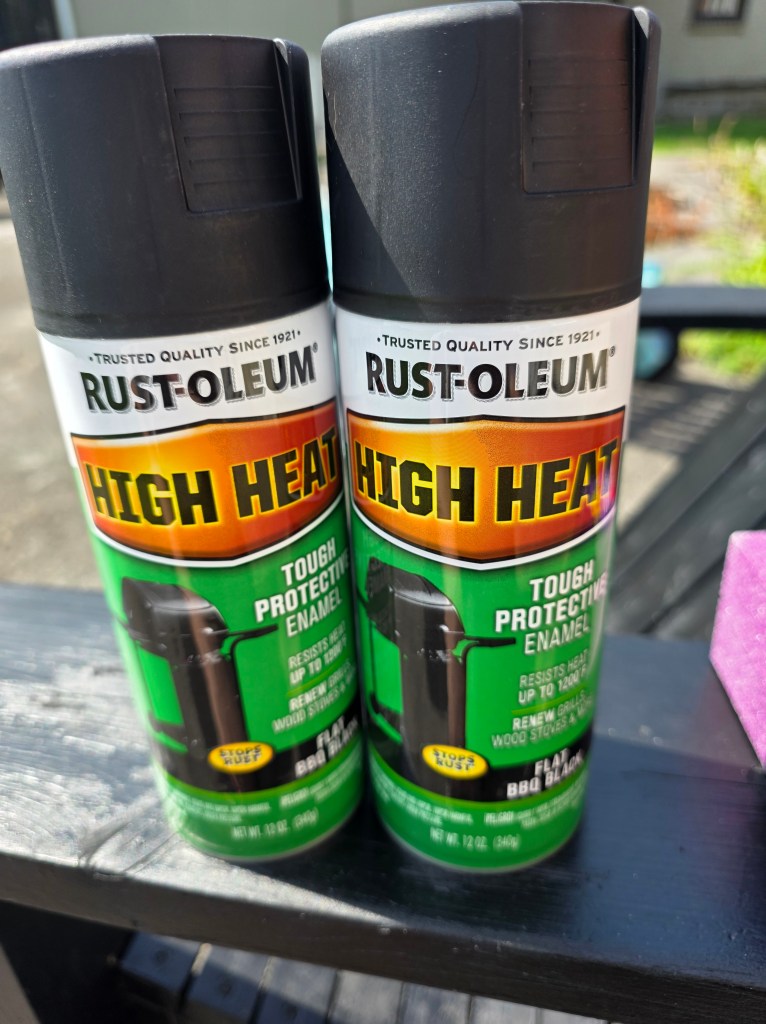
The 80-grit sanding sponge ended up being a good choice for this job. It was aggressive enough to work through the surface rust without making the process unnecessarily complicated.
I Cleaned the Firebox Before Sanding
Before I started sanding, I wiped the firebox down.
I wanted to get the surface cleaned up before working on the rust rather than grinding dirt and residue into the metal while sanding.
Once the surface was ready, I started working the rusty areas by hand with the sanding sponge.
Sanding the Rust Off by Hand
I focused only on the affected areas rather than sanding the entire firebox.
Some sections cleaned up fairly quickly.
Others took more work, especially around hinges, edges, and curved areas where getting good contact with the sanding block was harder.
The underside was the most awkward part of the whole job.
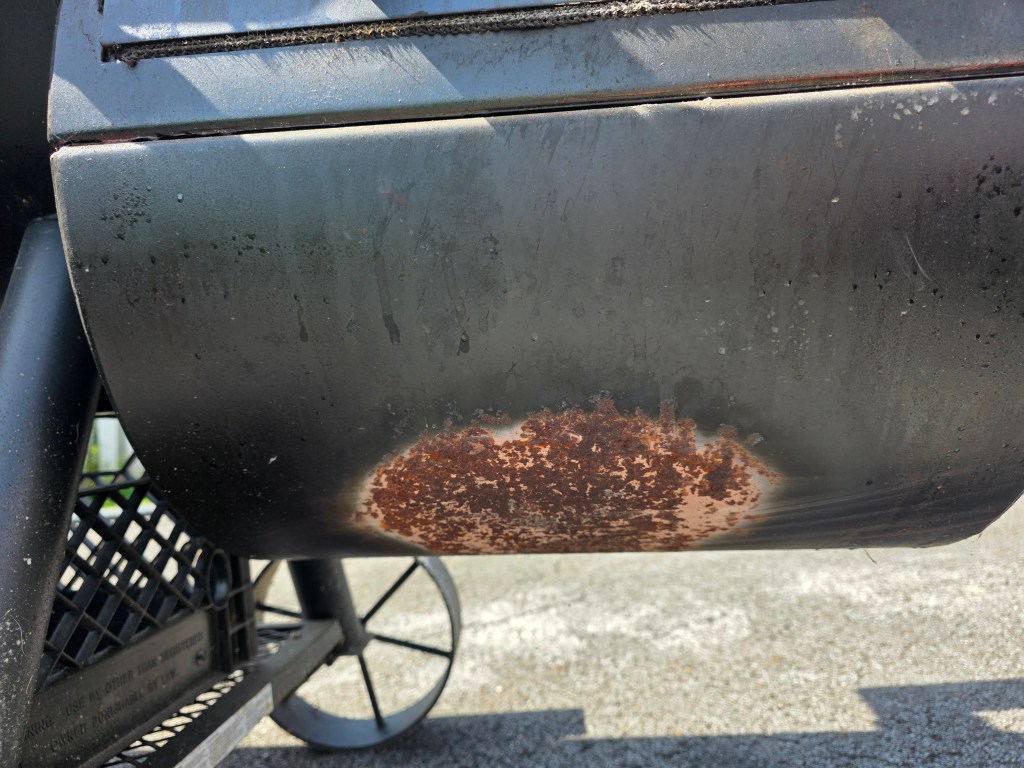
Working underneath a smoker is not exactly a comfortable position, and getting the sanding sponge into the right spots took some patience.
It did not come out perfect, but perfection was not really the goal.
I wanted to remove the loose surface rust, smooth things out, and give the paint a better surface to stick to.
For that, the 80-grit sponge worked well.
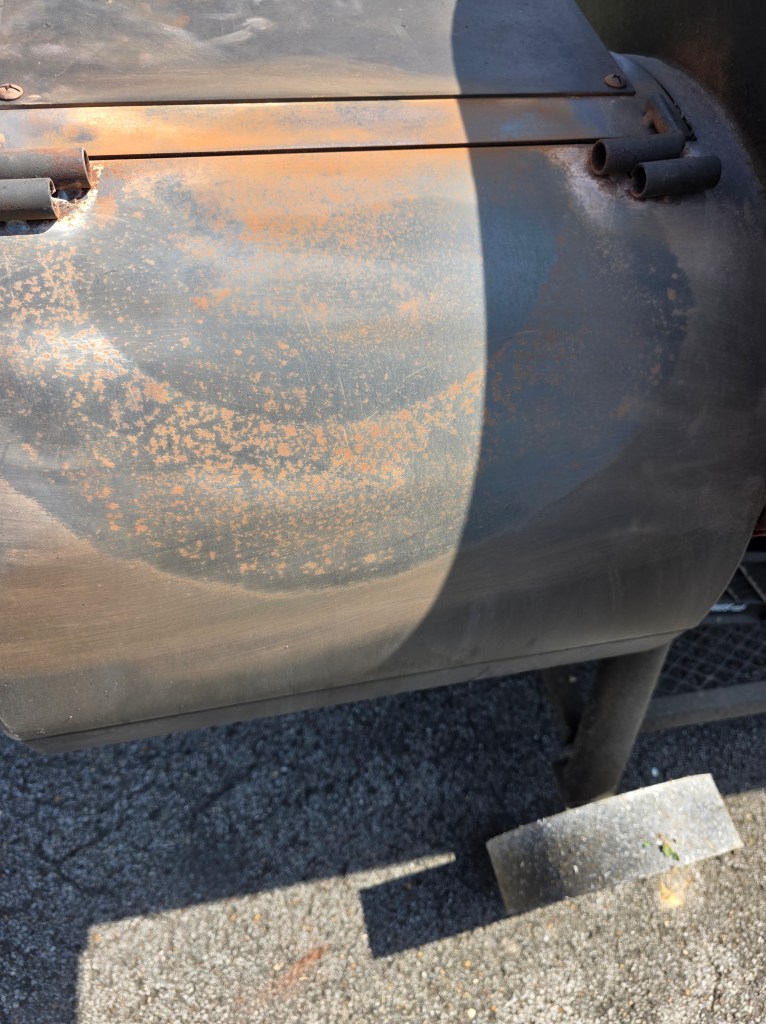
Cleaning It Again Before Painting
After sanding, I wiped the firebox down again.
That second cleaning was important because sanding leaves behind dust and loose material that I did not want sitting underneath the new paint.
Once everything looked clean, I moved on to painting the repaired sections.
I Only Painted the Areas That Needed It
I did not repaint the entire firebox.
Instead, I concentrated on the areas where I had sanded away rust and exposed metal.
I applied roughly two coats of high-heat paint to those spots.
The weather was hot that day, and the paint dried quickly. I waited around 10 minutes between coats before applying the next one.
Because this was a touch-up job rather than a full refinishing project, the goal was not to make the entire firebox look factory-new.
I wanted the repaired areas covered and protected.
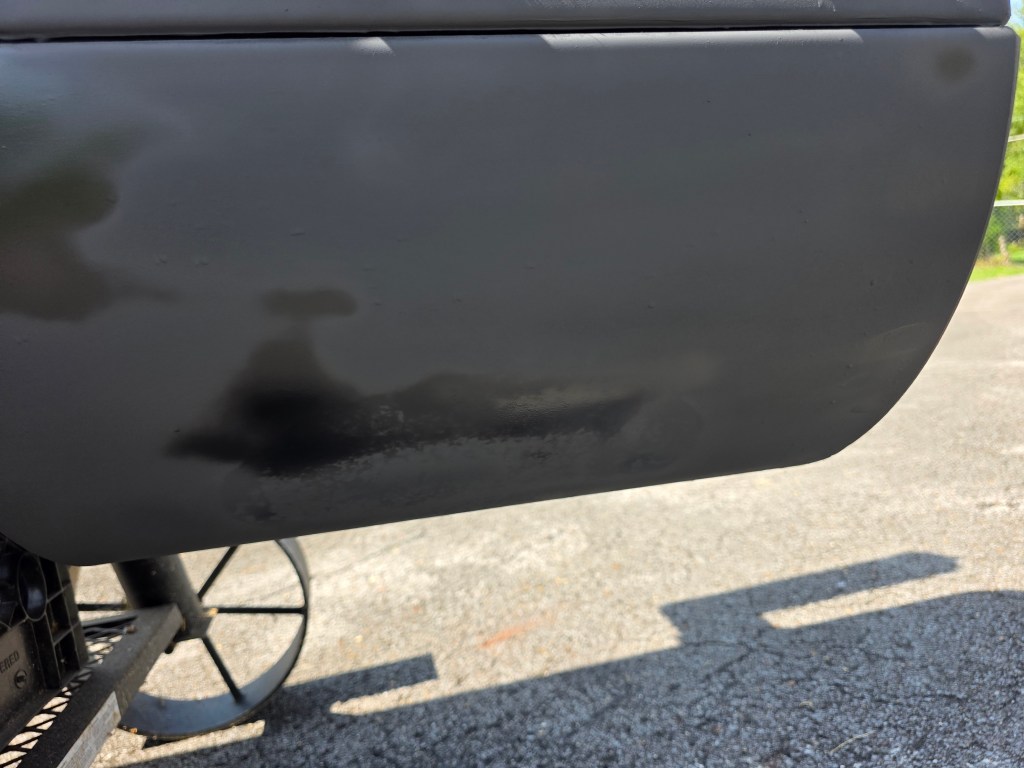
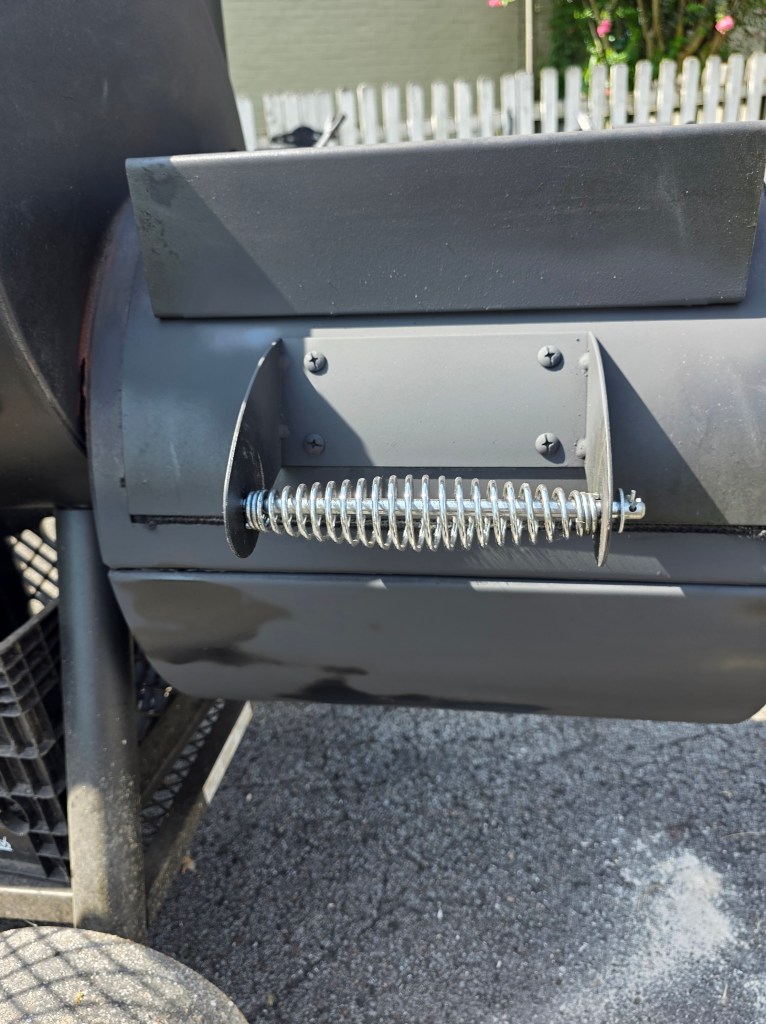
How It Turned Out
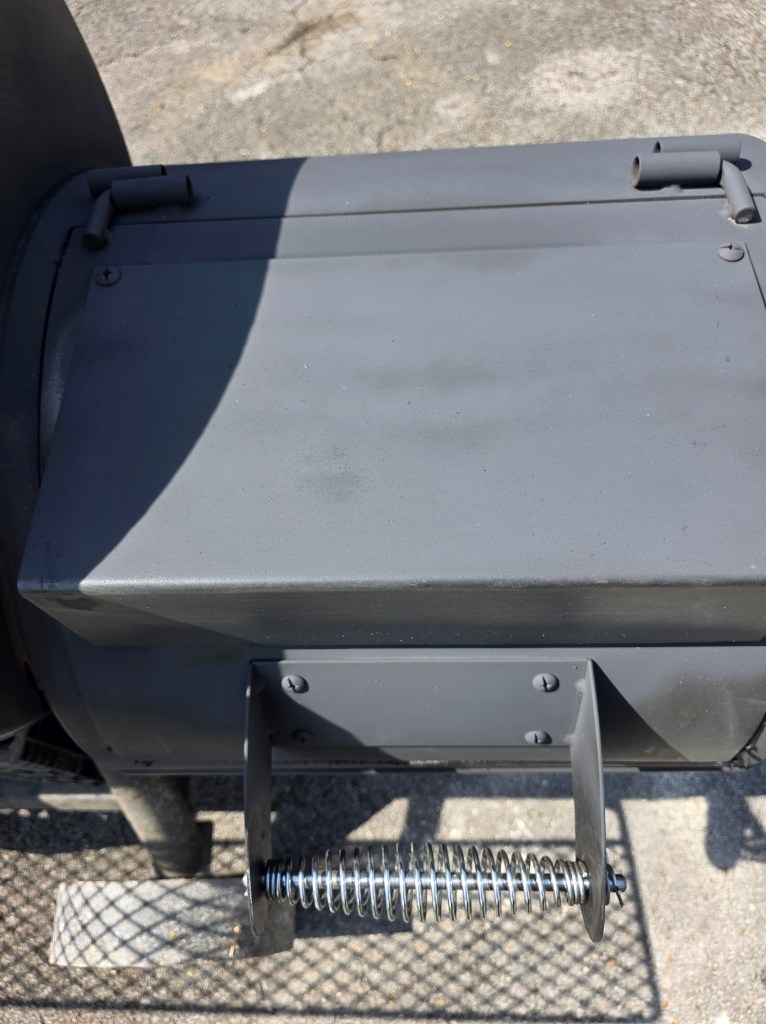
The difference was immediately noticeable.
The rusty patches were gone, the exposed areas were covered again, and the firebox looked much better overall.
If you look closely, you can still tell that some areas were touched up. I was not trying to hide every mark or make The Beast look brand new.
This smoker gets used.
What mattered to me was stopping the visible rust from getting worse and improving the appearance while I was at it.
For a simple afternoon maintenance project, I was happy with the result.
What I Learned
The biggest surprise was that the rust was not nearly as bad as it initially looked.
That alone made me glad I tackled it instead of assuming I had a much larger problem.
I also learned that an 80-grit sanding sponge was plenty for the surface rust I was dealing with. I did not feel like I needed power tools for this particular job.
The underside was definitely the most awkward section to reach, and I probably could have spent more time getting every little spot perfect.
But this was maintenance, not a show-car restoration.
The finished job is not perfect, but it is effective.
I Haven’t Fired the Smoker Since Painting It
One thing I cannot comment on yet is how the touch-up will hold up after another cook.
I have not done a burn or cooked on The Beast since repainting the firebox.
Once I have put some more heat cycles through it, I will have a better idea of how well the repaired areas hold up.
If something changes, cracks, flakes, or needs another touch-up, I will update this article rather than pretending the job is finished forever.
Final Thoughts
Surface rust on an offset-smoker firebox can look worse than it actually is.
In my case, the rust on The Beast turned out to be mostly cosmetic. A little hand sanding, cleaning, and a couple coats of high-heat paint were enough to clean things up considerably.
The whole project was straightforward, although crawling underneath the firebox was not exactly the highlight of my day.
If I see these spots starting again in the future, I will probably deal with them sooner rather than waiting for them to become more noticeable.
Offset smokers are built to work around heat, smoke, grease, and weather. That hands-on upkeep is part of the tradeoff with an offset, and I go into more of those differences in my comparison of pellet smokers and charcoal-and-wood smokers. A little maintenance comes with the territory.
The Beast has plenty of cooks left in it. Sometimes it just needs a little attention between briskets.
 Smoke Tested BBQ